PSO2 New Genesis: Sword miniguide
Hey! This post was intentionally delisted for being boring, inaccurate, outdated, or any combination of the three. I've left it up for archival purposes, but keep the context in mind!
Dubious value in 2024, not particularly in-depth.
Continue at your own risk!
TL;DR
Hunter’s standout features are multiple rewarding counter skills. Stand in places that let you use your defensive tools, and apply them whenever you can for highly efficient damage. When not doing that, use charged Calibur Streak when the fight permits, use Spiral Edge and Same Arts Attack Skip when you’re fighting a single foe that isn’t downed, and use Twisting Zapper whenever it can hit more than one target.
This is a massive oversimplification, but this is also a long document. For those of you who are about to close the tab, I hope that helps.
What’s changed from Oracle
This is for Sword diehards from the “old” PSO2, everyone else can skip this.
- The removal of JAs allows you to pace your attacks and make small timing adjustments with pretty minimal losses.
- Facetanking sucks. Sword PAs have no innate armor, the duration of Massive Hunter was reduced, and Automate Halfline no longer provides passive healing, though you can use Restasigne between normal attacks.
- Charge Parrying is gone. In its place is Hunter Arts Avenger, a sort of “negative edge” Charge Parrying that lets you nullify damage by using PAs just before taking hits.
- While you’ll still often want to use at least two PAs adjacent to each other, Another Arts Skip Attack isn’t as impactful as Fighter and Etoile’s PA-alternation bonuses—generally worth taking advantage of when you can, but not worth fishing for during uninterrupted uptime.
- Sword has no innate healing at this time, making it even more important to correctly use your defensive tools.
- Iron Will has no meaningful opportunity cost on the tree. I expect most Hunter players to take it, and the full invincibility may offer some extremely esoteric optimizations involving deliberately dying, since NGS’s long hitstop makes armoring through multi-hit attacks pretty slow. No Never Give Up shenanigans, though, put your Phaleg tech away.
Normals
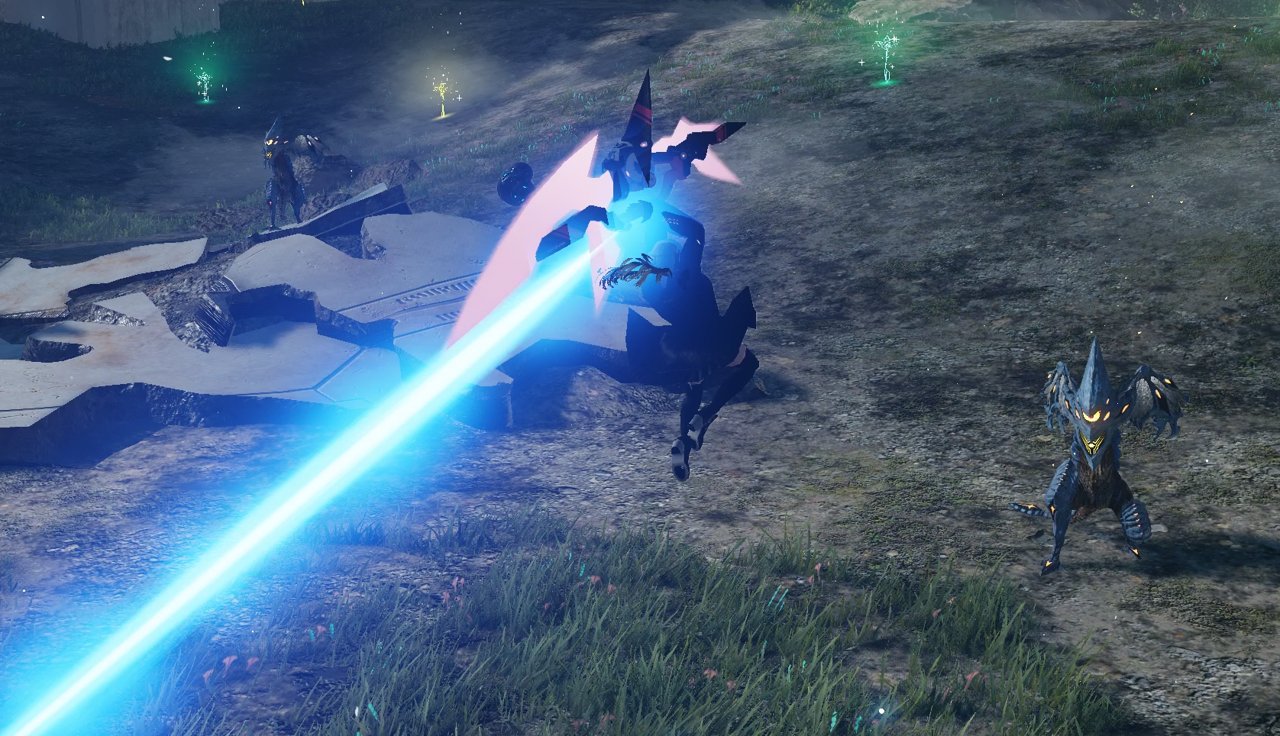
Normals don’t deal much damage, but they’re less committal attacks that regenerate some PP. They’re also guard-cancellable shortly after they become active, so when paced correctly, you can squeeze a little more damage in before a Guard Counter Plus activation—hold Weapon Action for the earliest possible timing.
The “5th” normal attack from Sword Attack Extra does great damage, but gains very little PP. When you have to normal attack, aim to make it to attack 5 before breaking combo (unless you need to avoid attacks or squeeze extra damage into a down). If incoming hits won’t be lethal, you can use Massive Hunter to avoid interruption.
When using Skip Attack, the low PP recovery of swing 5 can make it awkward to dig yourself out of critical PP, so try to avoid getting low enough that it’ll make a difference. Make sure you have enough PP for Calibur Streak spam before bosses are downed, since normal attacks waste potential damage on an exposed weak point. On the other hand, try not to hoard so much PP that Avenger activations and timing-related normal swings “overcap”, wasting resources.
Guard Counter Plus
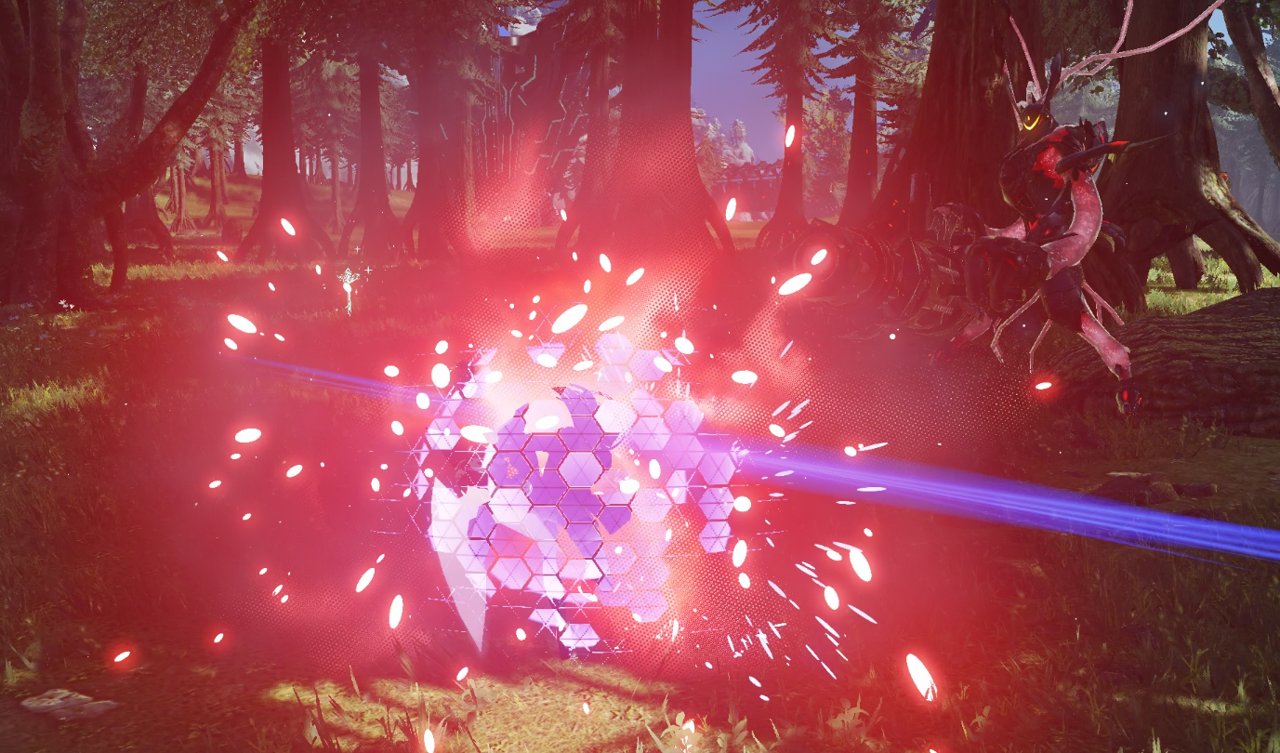
Guard Counter and Guard Counter Plus deal great damage (only beaten by Avenger PAs), regenerate PP, and are fully invincible for their entire duration. Spiral Edge and Twisting Zapper can both be interrupted early by guards, so being ready on the Weapon Action button can help keep you safe and keep your damage steady.
Note that Guard Counter Plus shares an animation with Sword Attack Extra, but recovers substantially more PP; take advantage of it whenever you can to fuel more Avenger PAs! Also remember that Guard Counter Plus is a slow swing, so fast-moving targets could slip out from under your sword; take note of these types of attacks and look for opportunities to use Step Counter or Avenger instead.
Guarding too early results in an imperfect guard, locking you in blockstun and draining your PP but reducing a portion of incoming damage. You can still Perfect Guard with 0 PP, but a failed guard at 0 PP causes you to take the hit unmitigated. Blocking and not getting hit isn’t quite as bad, but still costly, since you have to go through a lengthy recovery animation.
Some attacks can’t be guarded, most notably “grab”-style attacks.
Step Attack + Step Counter
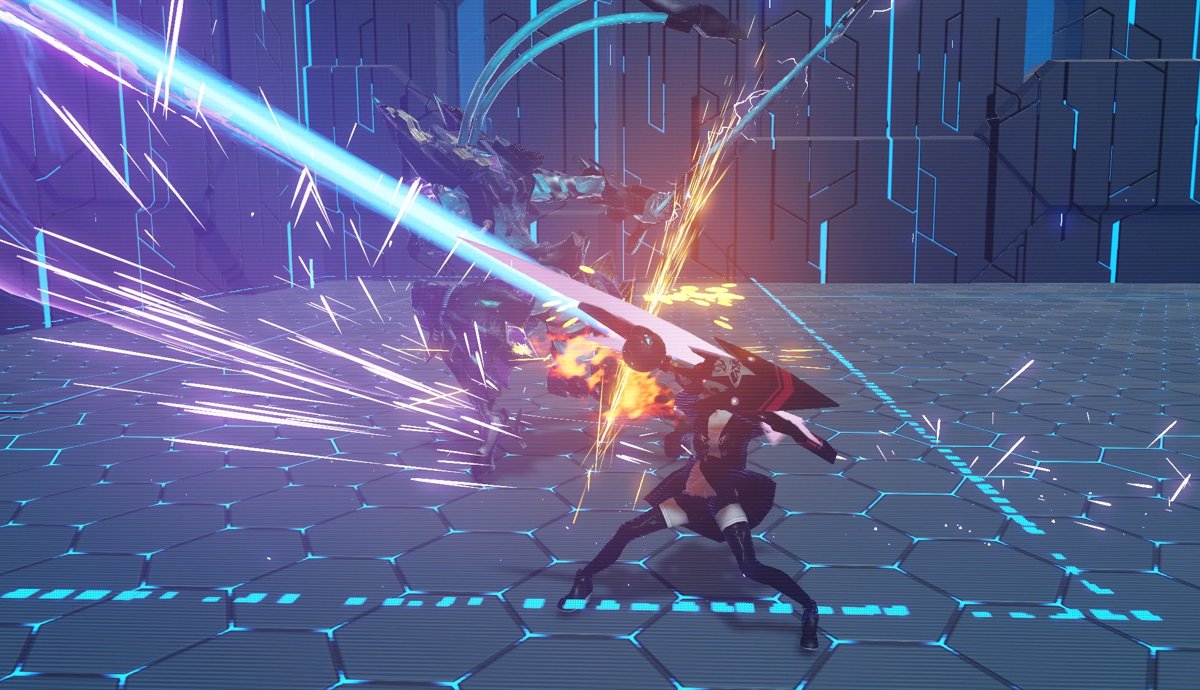
The standard Step Attack is a short-ranged kick. Treat it like your other normal attacks; it regains PP, so you’ll probably have to use it eventually, but minimize its use where possible.
If you Step through an enemy hitbox, you can hold Attack to chain into Step Counter, a huge (and fully invincible!) forward-moving slash. Step Counter offers slightly more DPS than Guard Counter Plus, but it’s a small gap, and you get more chances to Perfect Guard than Step Counter thanks to guard-cancelling. As a result, specifically fishing for Step Counter will usually lose more damage than it gains, though if you prefer Resurgir Sword for multiweapon access, it’s worth your while to keep the weapon potential up.
Step Counter’s real advantage is that it’s fast—if an enemy isn’t likely to stick around for the followup attack of Guard Counter Plus, Step Counter can tag it before it jumps out of range. It’s also a better fit for fast-moving enemies, since attacks that pass completely through you (like Bujin’s “Judgement Cut” slashes) will naturally dodge other counters. You’re better off stepping to “follow” the attack, then closing the distance with Step Counter.
Photon Dash Attack
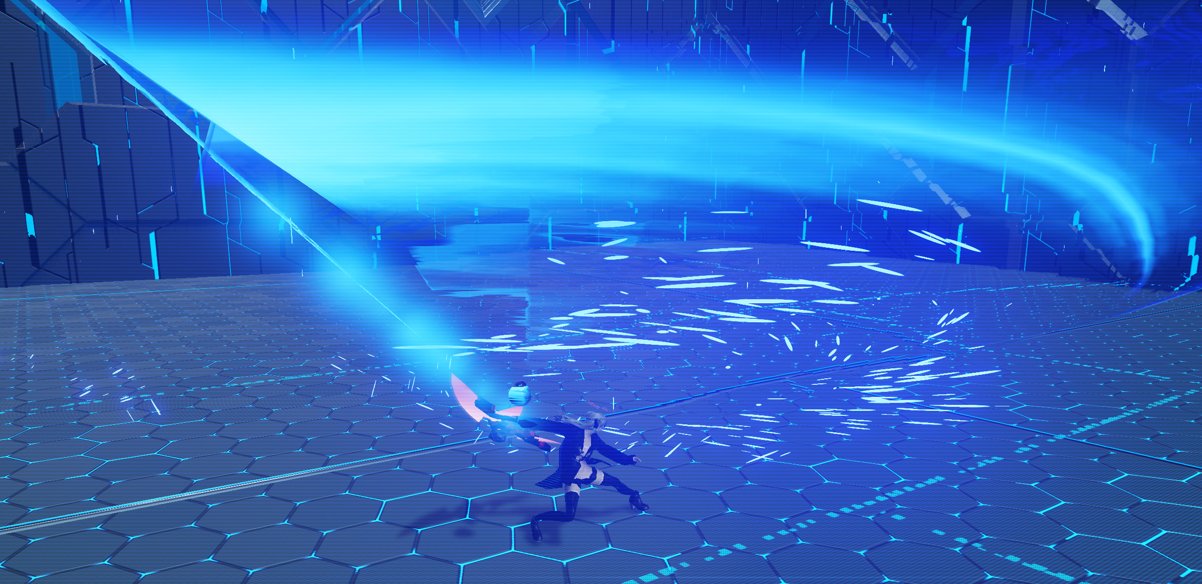
Pressing Attack during a Photon Dash gives you a gigantic frontal swing that deals solid damage. It’s typically not worth spamming this, but if you’re already in Photon Dash, this is usually the best way to exit it.
In dense mobbing situations, the huge hitbox might hit extra targets, which can help dramatically with PP upkeep. This occasionally makes it worth stepping just to enter Photon Dash, then immediately leaving with Photon Dash Attack.
Hunter Arts Avenger
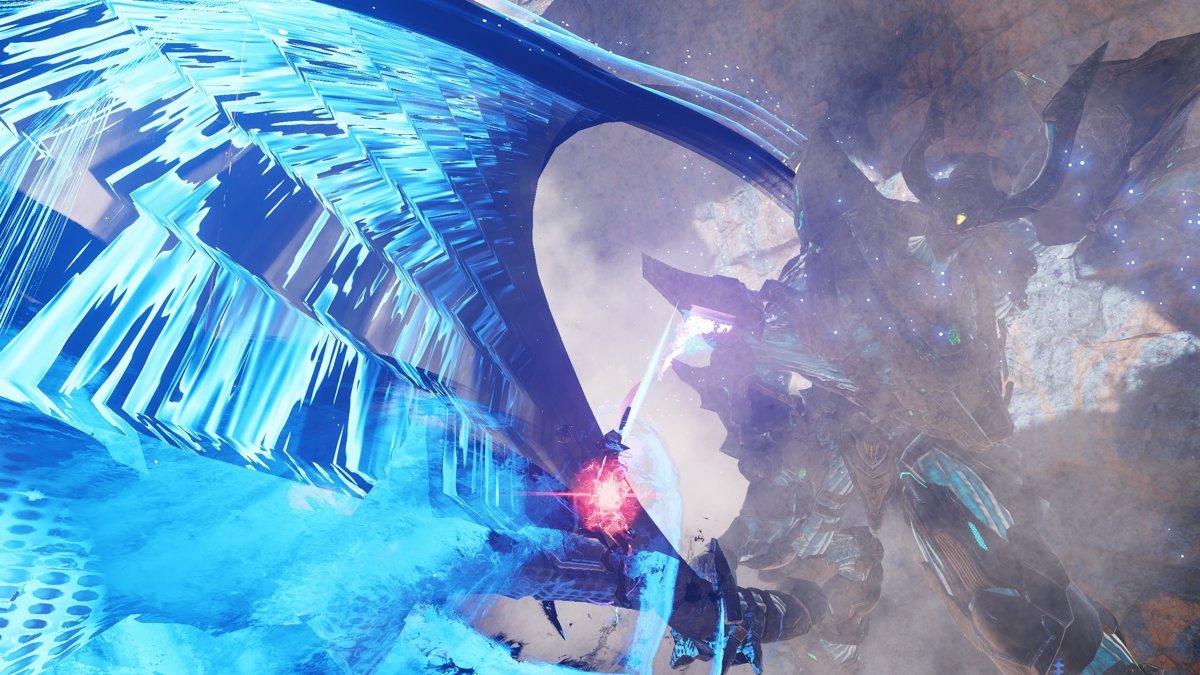
Hunter Arts Avenger gives PAs a massive damage bonus if you’re hit during their startup; you’ll see a red flash to indicate the boost. Hunter Arts Perfect Parry adds a precise window to the very start of your PAs, allowing you to activate Avenger without taking any damage.
If you’ve got PP to spend and you’re confident your PA will hit, Hunter Arts Avenger is almost always better DPS than any other available option, but it requires timing and preparation to use consistently. It also lacks Guard Counter Plus’s invincibility; even if you hit the Perfect Parry window, it only nullifies a single hitbox, and you’ll still take damage from fast followups or multi-hit attacks.
As with other counter skills, the enemy’s attacking, so they’re probably going to be moving. A lot of enemies will shift their weak points or completely peace out when they swing at you, so your followup attack could hit the wrong place or whiff entirely. Knowing when this will happen largely comes down to fight familiarity; pay attention and you’ll quickly learn when it’s right to apply your various defensive tools.
Some attacks can’t be Avenger parried, most notably “grab”-style attacks.
Skip Attack
Same Arts Skip Attack and Another Arts Skip Attack reward you for using two adjacent PAs, “skipping” your normal attack chain closer to attack 5 (big damage). To activate them, you need to chain two PAs into each other without a gap, then chain again into a gapless normal attack.
Both Same Arts and Another Arts are worth taking advantage of when the opportunity arises. [Spiral Edge x2 → Same Arts Normal 3,4,5] can be useful for long uptime windows where Calibur Streak is impractical, offering good sustained damage while still allowing for movement and reactive Avenger procs. Another Arts is trickier to use, and generally comes up when using Twisting Zapper to reposition or cleave extra targets.
Note that Calibur Streak’s 2nd and 3rd slashes are considered full repeats of Calibur Streak, voiding Another Arts chains. You can opt for a single swing of Calibur, but the 35PP cost limits this to really specific situations; there aren’t many opportunities to hit a single charged Calibur plus two normal attacks that wouldn’t also accomodate a second charged Calibur.
Spiral Edge
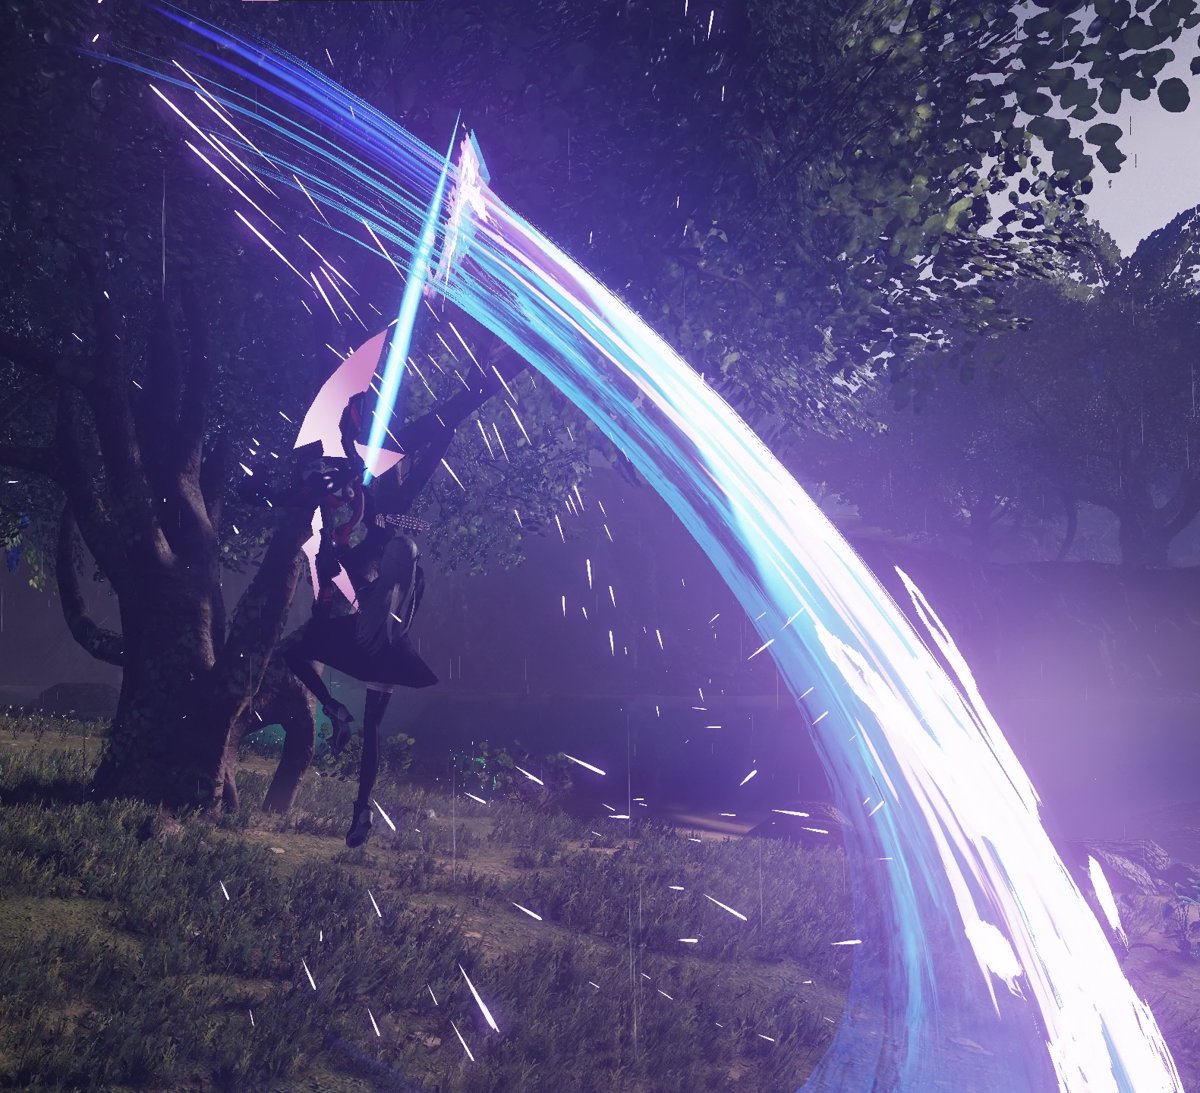
When uncharged, Spiral Edge is two quick frontal slashes. If PP isn’t a constraint, the DPS on this is fine, but you’d rather use the charged version unless you absolutely must Avenger something immediately.
Charging Spiral Edge dramatically increases the number of hits and damage. This gets more damage out of its PP cost, and you should prefer it when it’s available. Both versions will leave you airborne if started from the ground, and gain a small amount of height if you’re already in the air.
Spiral Edge can hit multiple targets if they’re closely packed; think of the hitbox more like a narrow cone than a straight line. Twisting Zapper is a better option for general-purpose mobbing, but if Spiral Edge can hit the same number of targets as Twisting Zapper, prefer it.
Spiral Edge leaves you vulnerable for longer than normal attacks; it’s supposed to be guard-cancellable on any frame, and this works fine if the attack misses, but on hit the hitstop seems to interfere; I don’t consider it reliable at the moment. (This feels inconsistent and I’m still investigating it, please email or message me if you have a better idea of what’s going on.) If you need to normal attack for PP upkeep, using Same Arts Attack Skip with two Spiral Edges offsets some of their cost without giving up damage—good if you need to keep your PP up before the enemy is downed.
Twisting Zapper
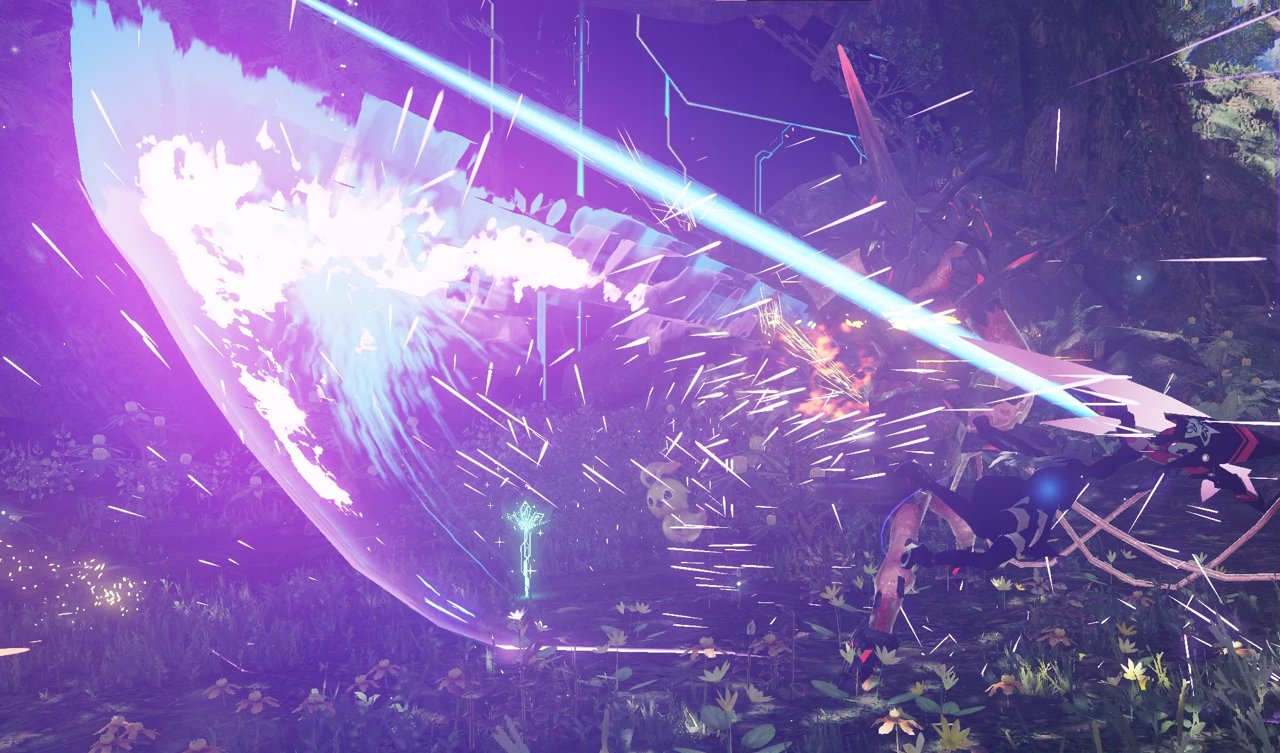
When uncharged, Twisting Zapper twirls your sword in a forward rush, hitting a large area. The charged version increases the damage and number of hits. Like Spiral Edge, prefer the charged version unless you absolutely need to activate Avenger right away.
The damage per target is barely better than normal attacks, so avoid using Zapper on single targets unless you need the movement or have the opportunity to activate Avenger. (Even then, you might prefer something like Wired Lance weapon action if there’s a valid targeting point and gaining extra height won’t disrupt you.)
Zapper’s 360-degree hitbox makes it Sword’s best mobbing choice by far; generally, if you can hit even a single extra target with Twisting Zapper, you should prefer it over your other PAs. In mobbing situations, try to avoid using it at higher than your jump height, or it’s likely to miss certain ground enemies.
The guard-cancel window is less forgiving than Spiral Edge, seeming to disappear midway through the PA, so be aware of incoming attacks before you release your charge; a brief delay is the difference between activating Avenger and being knocked down mid-swing.
You’ll collide with enemies during this attack, which can be useful (deliberately running into an enemy to keep yourself in range of targets behind you) or less useful (getting caught on a trash mob 10 meters away while you try to reconnect to a boss). You will stop dead when this happens; be mindful of the wide collision box, and remember that Twisting Zapper is steerable until the final slash, using standard camera + movement keys or over-the-shoulder camera + camera movement.
Calibur Streak
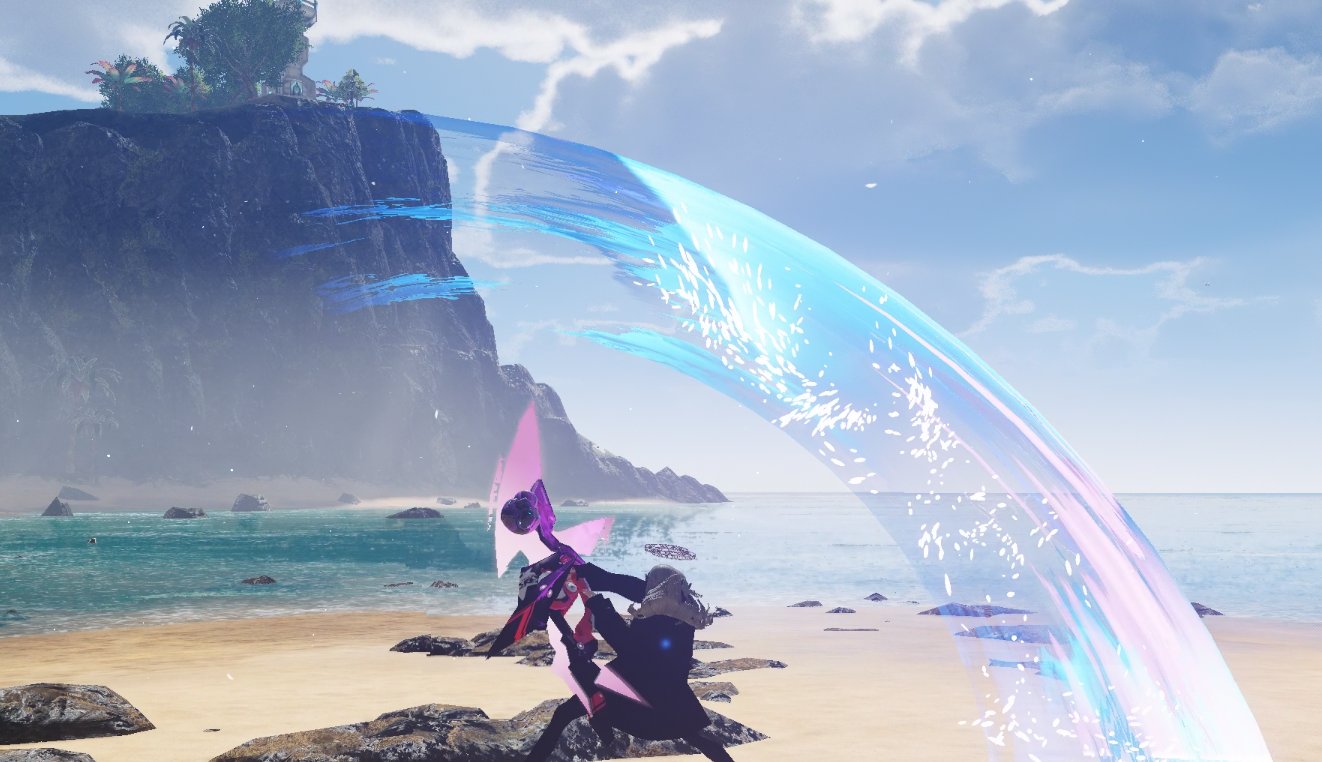
Calibur Streak is a short-range slice that can be performed up to three times. The PP cost is high, but the repeats cost no extra PP, so it’s best used when you can squeeze in all three.
Each slice can be charged, adding a lingering “trail” that does great damage—but unlike other charged PAs, the charge locks you in place. You’re also forced to release the slash immediately once it’s charged, and the charge period is unusually long. As a small consolation, you can change your facing (but not your position) when releasing the attack, and the charge locks your height rather than forcing you to slowly fall.
Uncharged Calibur is costly for not much return, and generally shouldn’t be bothered with. The quick repeats make it the fastest way to rapidly get Avenger activations, so Avenger PP Gain can offset the cost significantly, but your opportunities to hit multiple Avengers are limited.
Charged Calibur is Sword’s highest-damage option when not being attacked, but it requires excellent prepositioning or a stationary enemy. You’ll mainly be using it during downs or long, predictable attacks; even against enemies that stay mostly still, it’s difficult to hit weak points, and some enemies may simply walk out of the lingering slash.
While it’s possible to activate Avenger on each slash, and getting it on the third slash in particular is incredibly valuable, the forced release makes it very precise and situational. I’m not fantastic at the game, but I think it’s almost always impractical (unless your target is in an animation lasting the full duration of the attack). Whiffing or being interrupted in these situations is really costly, and while you can Weapon Action out of the charge, the swing itself is kinda ride-or-die. Consider using Massive Hunter to cover yourself, or you’ve wasted 35 PP and a few seconds of uptime.
Note that each swing of Calibur Streak is considered a separate use of the PA. This means that sequences like [Spiral Edge → Calibur(1) → Calibur(2) → Normal] will trigger Same Arts, not Another Arts. Uncharged Calibur is the fastest way to execute a PA for either version of Attack Skip, but the high cost and low damage makes it impractical unless you’re pacing damage in a TA or something.
That’s literally all of Sword’s attacking options, outside of Photon Blast. I kind of hope that weapon movesets are expanded in the future, things seem a little anemic right now, but I will say that it’s a pleasant change of pace from fishing for nonstop Ignite Parry in single-target.
One thing that didn’t fit anywhere else in this guide: there’s a red “eye” indicator next to enemy healthbars if they currently have aggro on you. If they don’t, you probably want to use War Cry to get their attention, since taking hits is much easier when a Ra/Fo isn’t kiting the boss in circles away from everyone. (Jokes aside, if you’re the target, you can keep it in place for the rest of your MPA, and attack/weak point locations become a lot more predictable.)
Please let me know if anything in this guide is dumb as hell, and please feel free to contact me if you have any specific questions.