PSO2: Sword PA Minimegaguide
Sword is a simple weapon with a handful of subtle quirks and optimizations. Making the most of those little things is how you take it from “awkward and slow” to “indestructible meme-powered lawnmower”.
Efficient PA selection is the biggest of the little things. You can get away with Nova Striking everything to death, but good application of your tools will send your damage and uptime through the roof. With that in mind, here’s a short guide to Sword’s attacking options, and when/how to use them.

For simplicity’s sake, this guide makes a few assumptions about you and your character:
- You’re familiar with PSO2’s basic combat mechanics. None of this will help you otherwise.
- You are playing Hunter/Fighter, using a sane skill tree including Sword Gear, Automate Halfline, Fury Stance, Tech Arts JA Bonus, and Charge Parrying. Explaining this is outside of the scope of this guide.
- You have read all of your skills and know what they do.
I don’t talk about the effects of Sword Gear on every PA: realistically, you should be spending 100% of your time at level 3 gear, unless you’re in the middle of your opener. Sword Gear decreases charge time or increases damage on every PA, so if you dip below level 3 after your opener, make it your priority to get it back before you spend PP (and especially before you start a charge).
Armor is an attack property that prevents it from being interrupted by normal attacks. This is not invincibility: certain status effects (like stun) will interrupt armored attacks, and you will still take damage when hit while armored. Armored PAs are usually used in combination with Automate Halfline to ignore incoming damage.
DPS stands for Damage Per Second, a measure of how much damage a PA does in a given unit of time. DPP stands for Damage Per PP, which measures efficiency given a set amount of PP. Balancing these correctly depends on the pace of the fight and the speed of your group, as well as the weapon you’re using, but it’s good to be familiar with both.
Quick PA Reference
- Rising Edge
- Twister Fall Type-0
- Nova Strike
- Ride Slasher
- Over End
- Stun Concido
- Sonic Arrow
- Cruel Throw
- Guilty Break
- Sacrifice Bite Type-0
- Ignition Parry
 Rising Edge
Rising Edge is your bread-and-butter single-target option. If you’re unsure what PA to use in a bossing situation, Rising Edge may not be the right answer, but it’s usually pretty close.
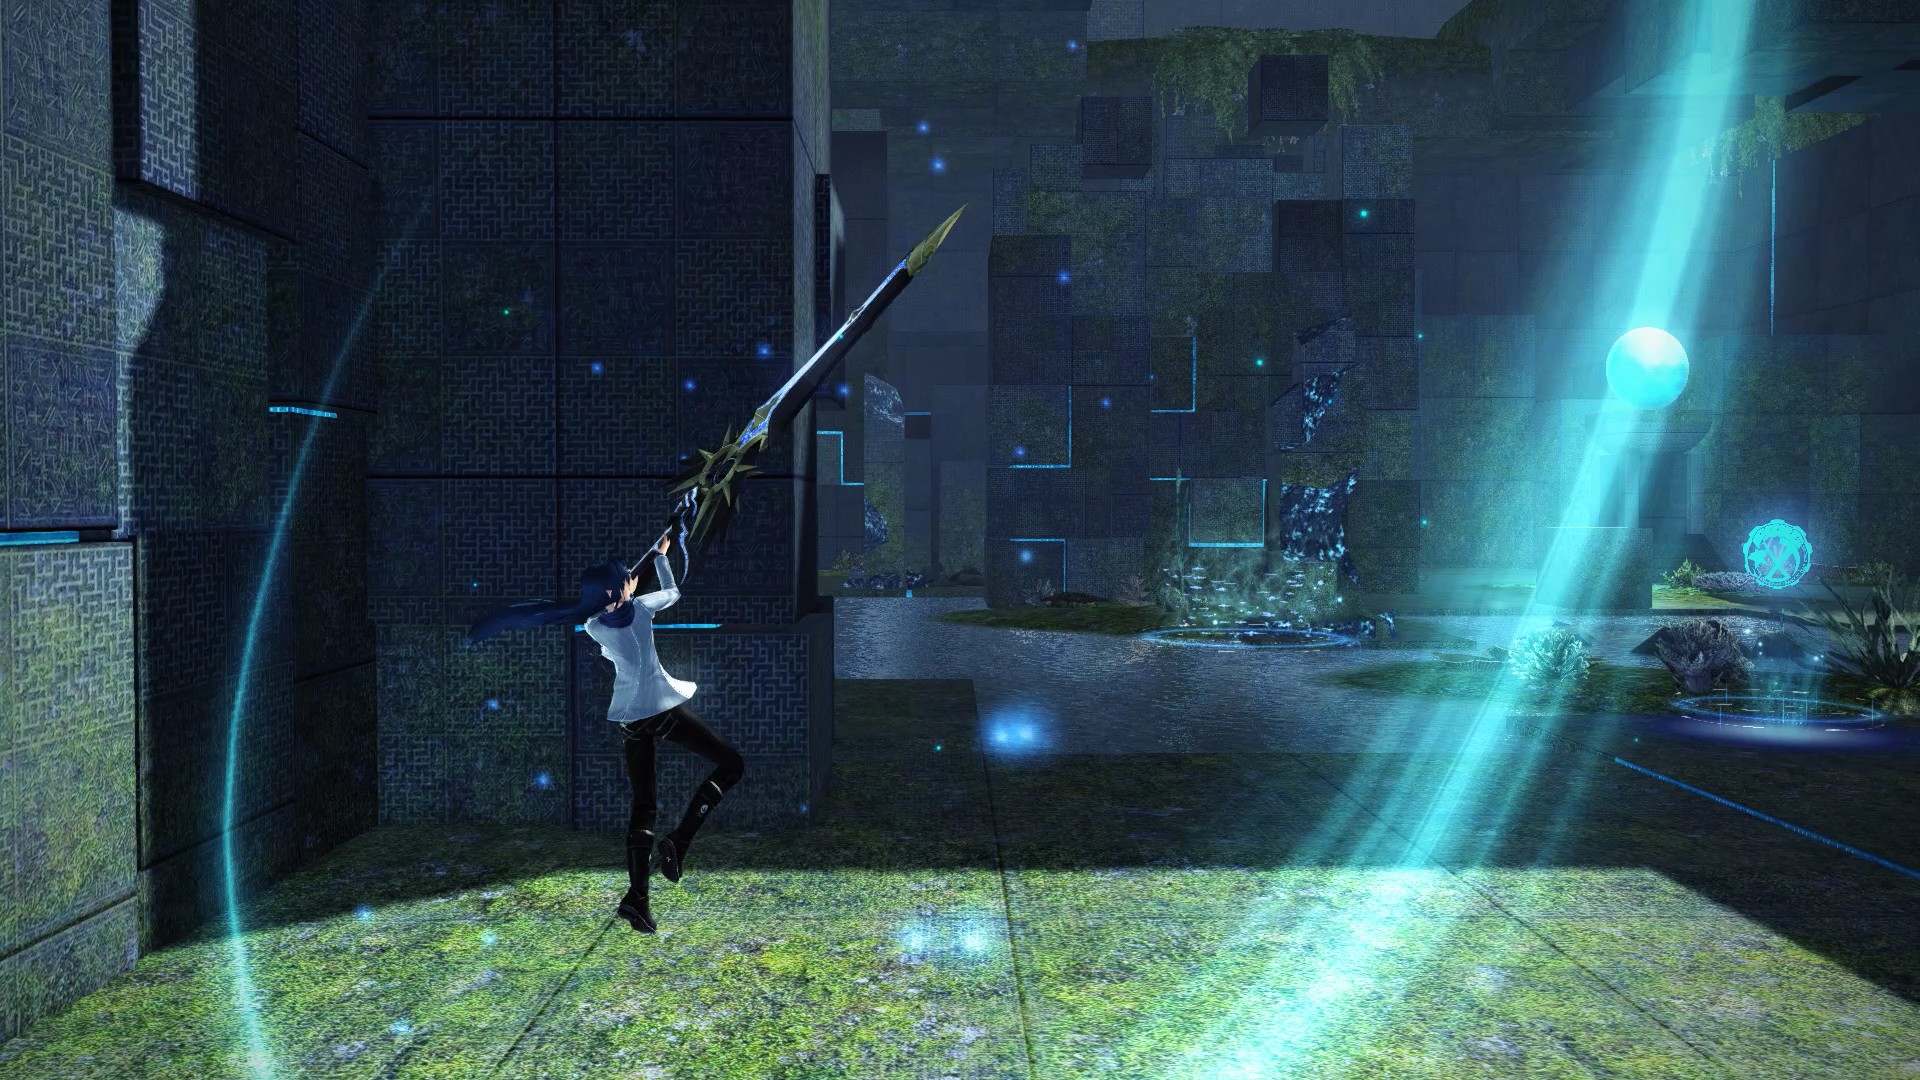
Rising Edge has a 2-stage charge, increasing the number of hits. The uncharged version can be useful in crisis situations where you barely miss a jump or slip off a platform, allowing you to climb back up. For everything else, use the fully charged version.
Despite the animation, Rising Edge’s hitbox is more like a cone than a straight line. At maximum range, it can hit multiple targets, but at point-blank range, it’s unlikely to hit more than one. When fighting mobile enemies, it’s sometimes worthwhile to back up while charging to avoid awkward whiffs. Versus flying enemies, don’t position yourself directly under them, or any small movement will take them out of range. Step back before you swing, and you’re more likely to connect.
The grounded version of Rising Edge gains more height than the aerial version. Versus shorter targets, like Double’s core, the grounded version will partially whiff, carrying you out of range for the final hits. Use the aerial version immediately after jumping, and all 5 hits will connect, though the JA afterwards can be awkward.
Rising Edge is armored for its full duration, but it can be guard-cancelled starting on the first active frame. This makes it an ideal TAJA versus enemies with stuns, or if you’re looking to squeeze just a little more damage in before blocking an unsurvivable hit. If you’re guarding on reflex, remember that the PA takes a moment to start after releasing the attack button: there’s a small window of vulnerability during Charge Parrying and the guard-cancel window. Hold Guard during the startup animation to buffer it, blocking on the first available frame.
While it’s mainly used versus bosses, if spaced properly, Rising Edge can be used as a mobbing TAJA versus small clusters of enemies. If you’re playing in a group, the launch can disrupt the rest of the MPA, so be wary unless you’re using this as a finisher.
 Twister Fall Type-0
Flexible single-target damage versus large enemies, with the highest theoretical DPS of any Sword PA. It’s not quite that strong in practice, but it’s forgiving to aim and makes for great TAJA fodder.
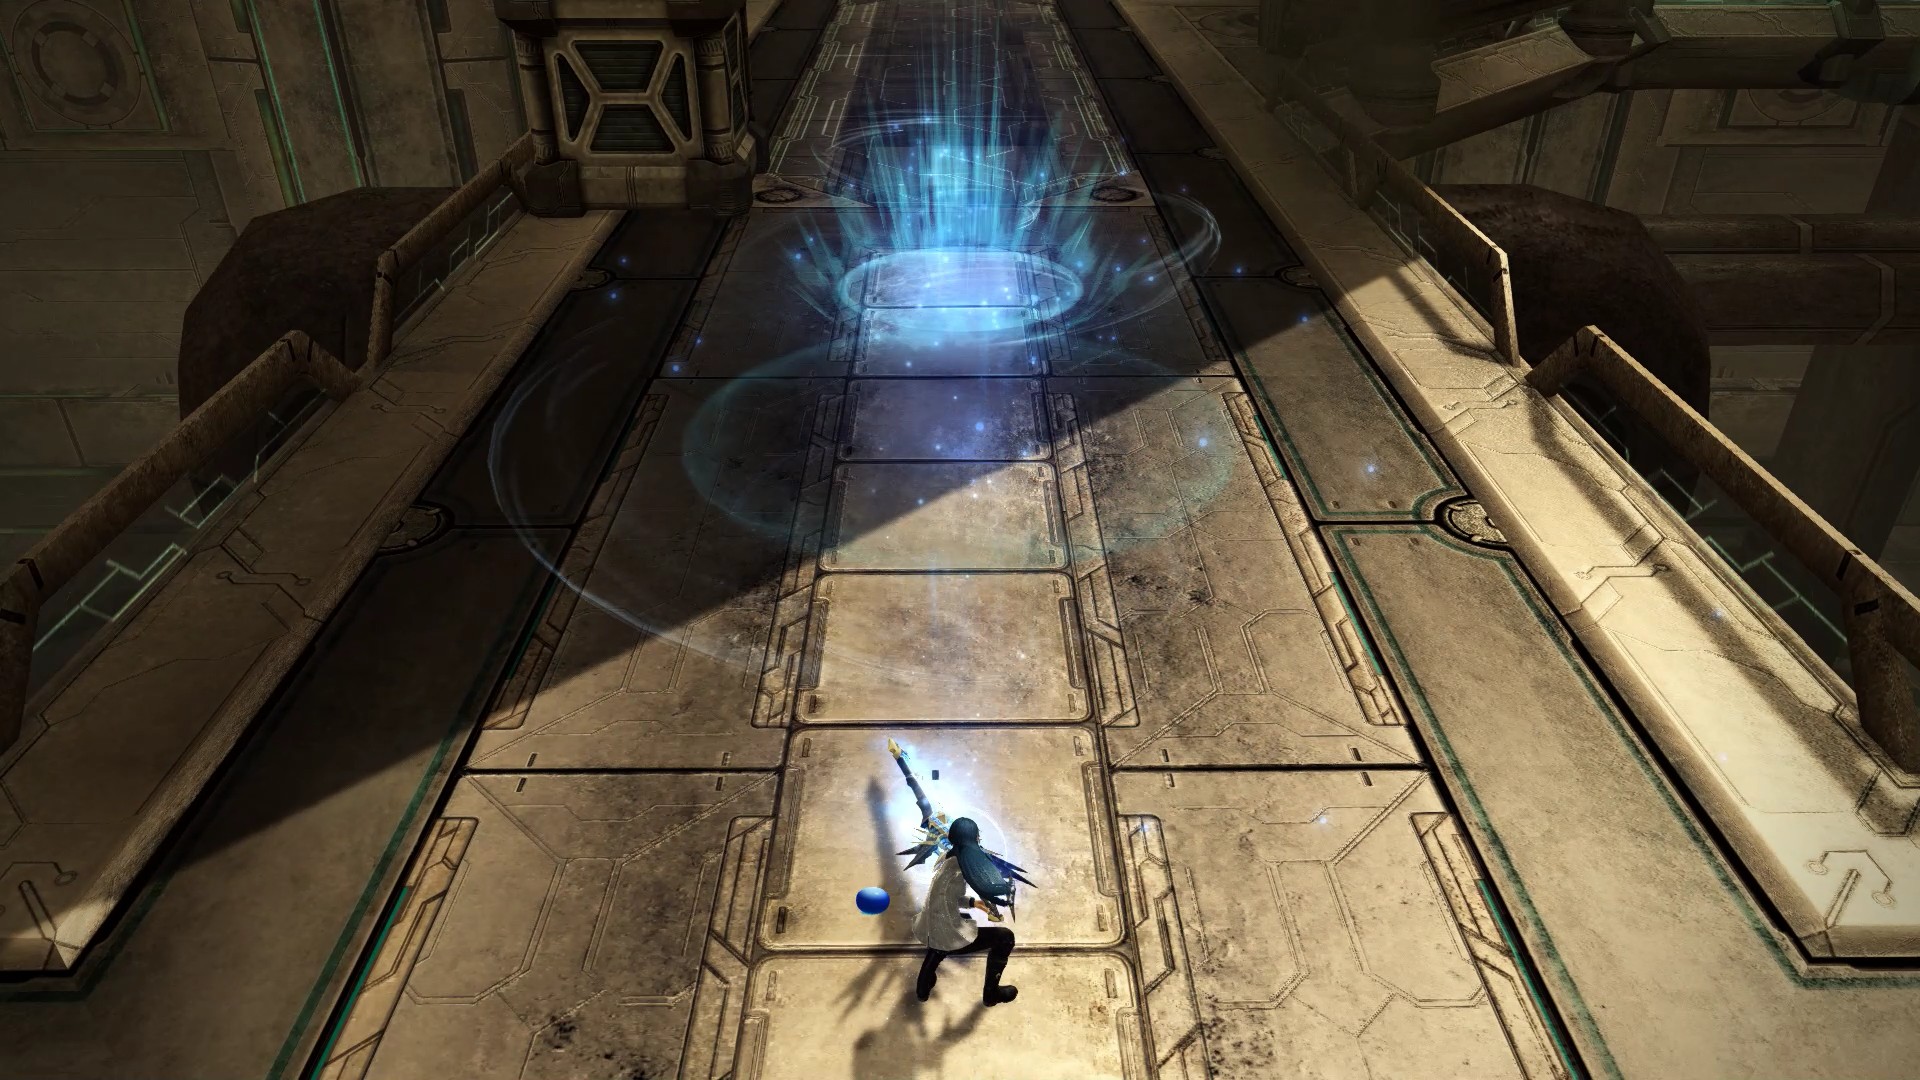
(Twister Fall Type-0 has no drawbacks compared to the uncrafted version, assuming a strong craft. I’ll refer to this as just “Twister Fall” for brevity.)
Twister Fall is a two-part PA, beginning with a short-range aerial spin. By default, this hits 3 times when started from the ground, and 2 times from the air. Holding the attack button extends the spin, up to a maximum of 17 hits (15 for the grounded version). During the extended spin, inputting movement will drift you slowly through the air, letting you make small adjustments.
After the spin ends, you slam into the ground, creating a multi-hit shockwave in a line in front of you. Sword Gear affects the range of the shockwave and the number of hits (up to 3). This deals most of the PA’s damage—only large targets will take every hit. Weak targets will be bounced into the air, knocking them down and away.
Always start this PA from the air. The grounded version includes a slow, awkward hop into the air before the spin, reducing DPP and damage across the board.
This PA’s awkward range limits it to use as a single-target option, and the way the damage is distributed makes it ineffective against small enemies. If you can’t connect with at least 2 hits of the shockwave, you’re better off using something else—the final hit doesn’t do much damage, and it’s okay to whiff it sometimes. Good Twister Fall targets include Mining Base walls, Dragon EX and Deadlion, Tokyo tanks, and other enemies of similar size.
If you don’t extend the spin, Twister Fall is a solid burst option. It dumps a lot of PP, but the damage of the full shockwave is quite strong—though not usually as strong as SWiki’s DPS charts would indicate, since the shockwave rarely hits boss weak points.
When the spin is fully extended, Twister Fall becomes an extremely PP-efficient single-target option, though the damage is lower than other single-target PAs. The extra hits don’t cost any extra PP, so it can be a solid option for long-term sustain damage, especially if you’re not in aggro control and your target is moving unpredictably. Don’t get too attached to the full spin, though. It’s often better to release the PA a few hits early, to guarantee that the shockwave connects.
When spacing to hit the shockwave, back up a little. Each hit has a fairly generous AoE, so you don’t need to be point-blank to connect with the first hit. Lock onto your target before moving to avoid missing part of the spin.
Twister Fall is armored, but it can also be guard-cancelled starting very early, making it a flexible option when dealing with stuns and other interrupts. Most of the PA’s damage is at the end, though, and the PP cost is pretty steep, so don’t go out of your way to use Twister Fall versus interrupts. You’re usually better off with Rising Edge.
 Nova Strike
The backbone of Sword mobbing. Excellent range, solid damage, and high DPP. Setting up for well-placed Novas is your primary goal versus beefy enemies.
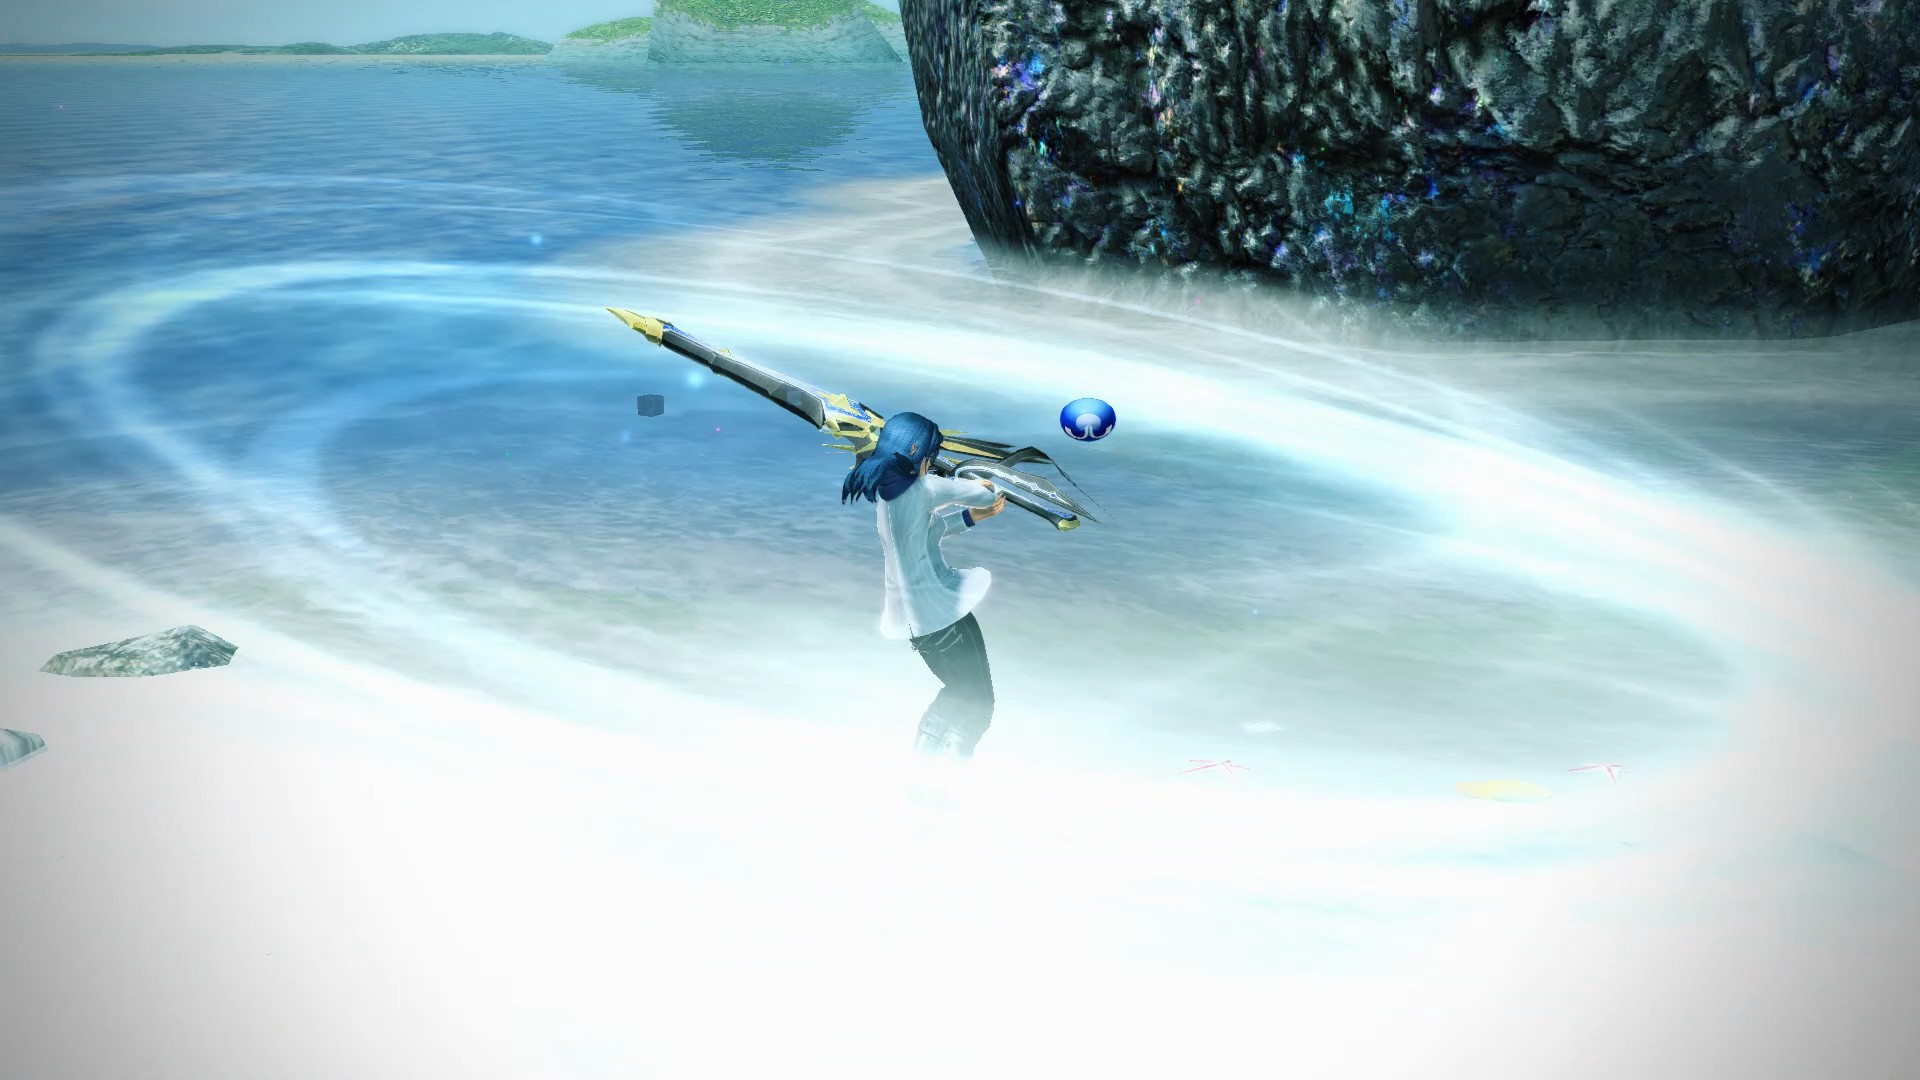
Nova Strike has a 2-stage charge, increasing the number of hits. Sword Gear heavily decreases the charge time. Regardless of charge level, the final hit of the attack knocks weak enemies down and away.
Uncharged, Nova Strike hits once, which is only useful if you’re using a sword in Challenge Mode. At level 1 charge, it hits 3 times—this is technically worth more DPS than the full charge, but the reduced DPP limits it to use as a finisher. At level 2 charge, it hits 4 times: this is how you’ll want to use it 99% of the time.
Nova Strike’s full armor makes it an ideal choice for mobbing, especially versus temperamental Ultimate enemies. However, the PA can’t be guard cancelled at all, leaving you vulnerable for the entire (LONG) animation: stuns, statuses like Freeze, and tankbuster-type attacks can all still interrupt you. You also won’t be able to avoid multi-tick damage sources, which chew through mates fast, so be mindful of your positioning during long quests.
Because Nova Strike hits in a 360-degree AoE, you’ll usually want to position yourself inside packs of mobs, hitting as many targets as possible. Positional stances are still a thing, though: hitting 1 extra mob is rarely worth losing Brave Stance on the remainder of the pack. War Cry can help turn enemies towards you, making aggressive Nova Strikes more effective.
All Sword PAs have unusually high hitstop by PSO2 standards, but Nova Strike is affected the most, since it hits more targets than most PAs. This isn’t usually a damage concern—hitting more targets is more damage than hitting fewer targets, regardless of hitstop—but it can make it difficult to JA from. Get used to watching your character position, since the JA ring sometimes won’t be visible from inside dense mob packs, especially in group play.
When dealing with things like PD’s bits, don’t bother with Nova Strike: they may look like separate targets, but each one is considered part of the same enemy, so area-of-effect attacks won’t get extra hits. You’re better off using a single-target rotation.
 Ride Slasher
A solid TAJA for cleanup during mobbing, and a strong (but situational) single-target option.

When uncharged, Ride Slasher is a short forward burst of movement, followed by a secondary hit once you reach your destination. The raw DPS on this is decent, but it’s one of the least PP-efficient tools you have. The gear build is pretty solid, so if you need to reposition during a gear opener (or don’t have the palette space for Sonic Arrow), it can be useful.
For general DPS, you’ll want to use the charged version instead. Ride Slasher has a 2-stage charge, increasing its damage and number of hits. When fully charged, Ride Slasher moves slowly forward, hitting 4 times as it travels. This version is fully armored, and continues moving for a short duration after the final hit, with a generous JA window.
Ride Slasher’s second charge stage is longer than other Sword PAs (50 frames instead of 40). This means that even at 5SP Charge Parrying, it’s impossible to protect the full charge duration. In light mobbing, just be aware of what’s happening in your vicinity, and you’re unlikely to be interrupted. In chaotic fights, sometimes you’ll need Massive Hunter active to use Ride Slasher aggressively.
Whether you’re using the charged or uncharged versions, make sure you’re in the air when using Ride Slasher. The grounded version has a long animation before it starts moving, but the aerial version starts instantly. If you end the PA low enough to the ground, your followup JA will be grounded. This, plus the long JA window, makes it easy to maintain combo with.
Ride Slasher is guard-cancellable starting on the first active frame, so it’s a safe option if you need to block interrupts. You can also “brake” by guard-cancelling, though you’ll lose potential damage: if you’re whiffing hits or crossing through your enemies, start further back and use the disjoint on the initial hitbox.
When mobbing, Ride Slasher is most useful as a cleanup PA, sweeping through damaged packs to finish them off as you move to the next one. You need decent spacing and good awareness of enemy HP to use this effectively: if you won’t kill the pack you’re fighting, you’re sometimes better off with another Nova Strike.
As a single-target option, Ride Slasher is powerful, but finicky. Versus a single enemy, you should be aiming to connect with all 4 hits, while maintaining your positional stance bonus for each hit. Used like this, Ride Slasher has better DPS than any option besides Ignite Parry and a perfect Twister Fall. If you can’t set up for the ideal Ride Slasher, you’re almost always better off using other single-target PAs.
Staying on the right side can be tricky. Some enemies will block your movement, and you can just run straight into their bodies without switching sides. In these situations, your main concern is hitting the body head-on: at the wrong angle, you’ll slide off the weak point and waste potential damage.
Versus enemies that you can pass through, you’ll need to use a wall in the environment, or clip them with the edge of the PA. Experiment with direction and starting position, as each enemy’s weak point (and surrounding parts) is different.
 Over End
Sword’s starting PA, for some reason. It’s an efficient damage option, even better if you precast it, but a giant waste of time if you whiff the incredibly slow final hit.
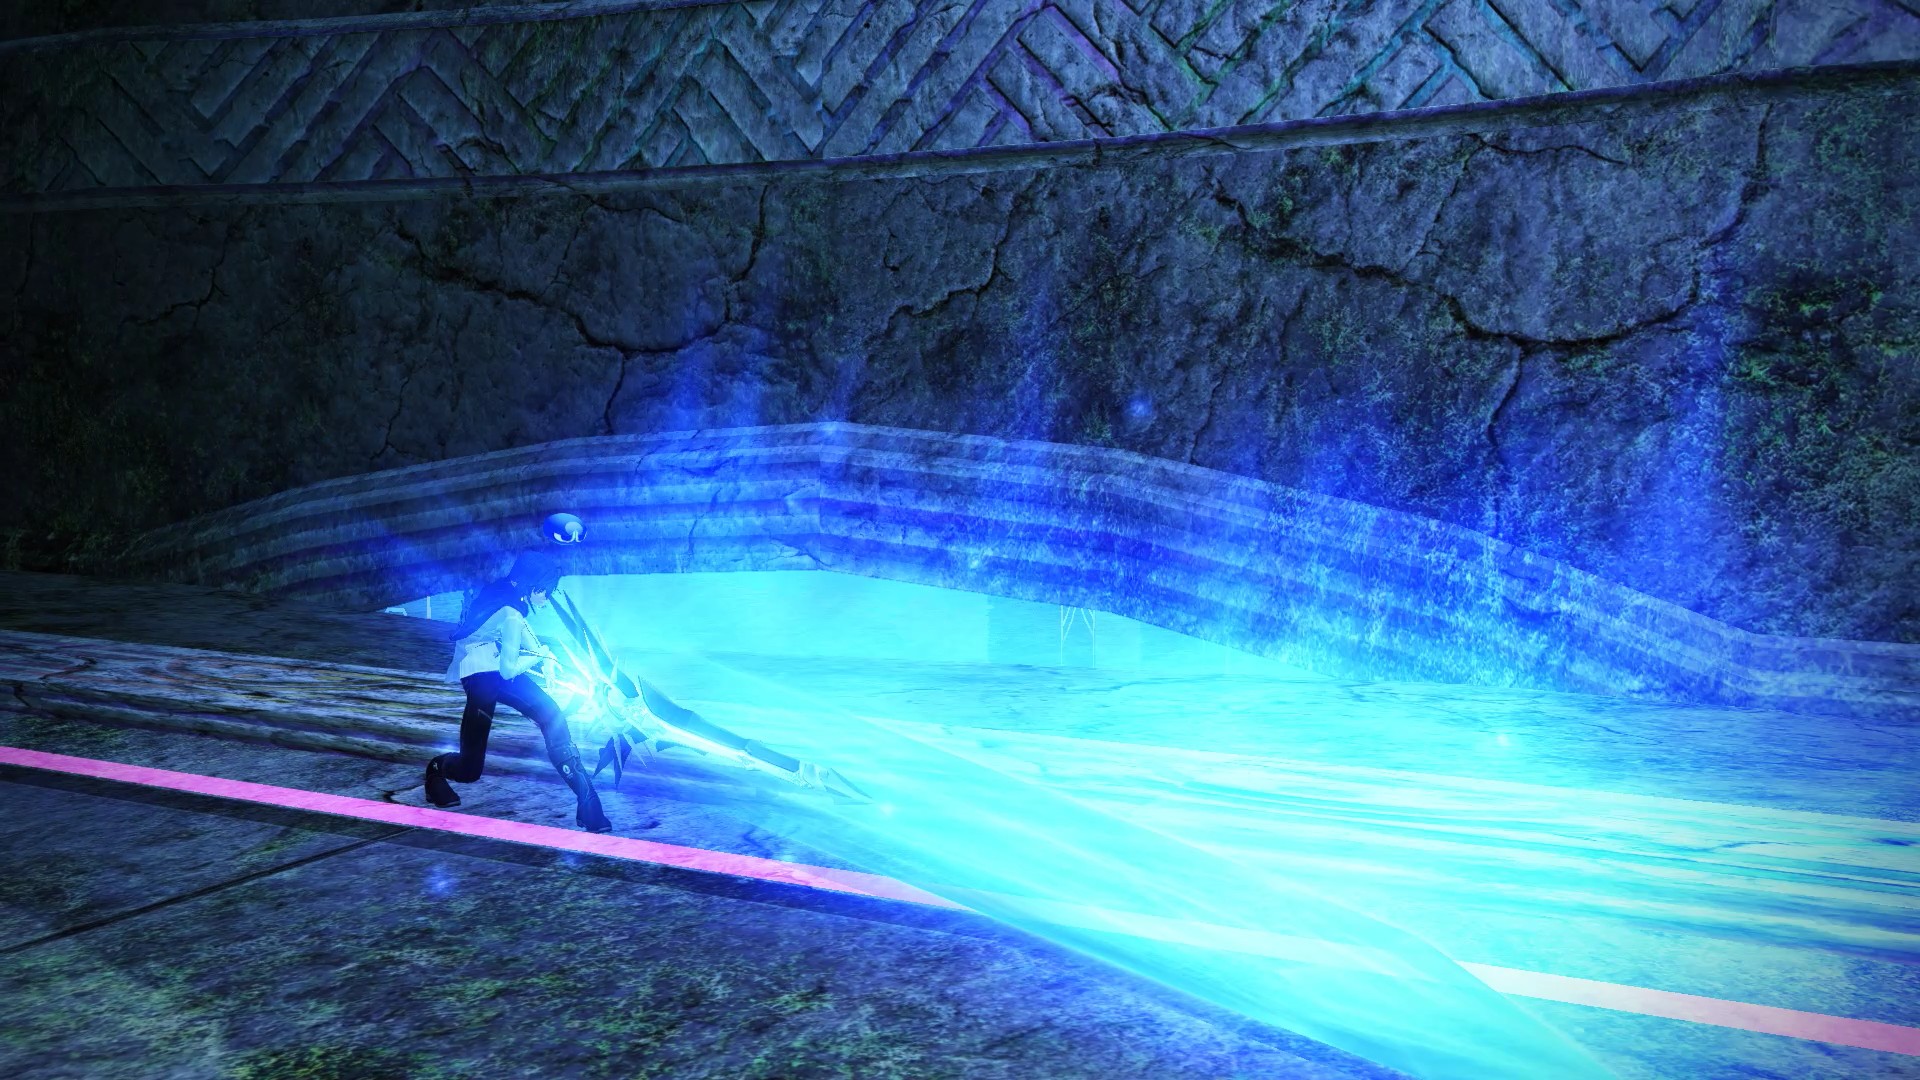
Over End is three fully armored swings, with the longest duration of any Sword PA—just under 5 seconds! It can only be guard-cancelled after the third swing starts, so be very careful of interrupts and lethal damage. Avoid using this if anything in the area can stun you: it usually has more than enough time to do it.
Until the final swing comes down, you can turn slightly to adjust your angle. Usually, the best way to do this is to lock onto the part you’re aiming for and let the game handle the turning: the slow turn rate makes it difficult to reposition manually.
Over End’s damage is split into five hits, with one on the first swing, one on the second swing, and three on the third swing. The final hit of the third swing does more damage than the rest of the PA combined, so if your target will move or die in the next 5 seconds, don’t use Over End.
Positioning with Over End depends on context. The hitbox of the first two swings is as large as you’d expect, but the third swing has some noticeable disjoint to either side. If you’re too far away from a multi-part enemy, you might clip one of their parts instead of their weak point, or you might whiff entirely if they move back. If you’re too close and the target moves too quickly for you to turn, the same thing might happen. Dealing with this is a case-by-case thing, but if you’re afraid of getting screwed, you might want to pick a different PA for safety.
Even though the final number looks high, Over End doesn’t really do more damage than other Sword PAs. However, since all the damage is concentrated in the last hit, it can help push DPS if you precast it during downtime, timing the third slash to come down just as your target becomes vulnerable.
Overusing Over End is the most common Hunter mistake. The PA has its place, but large numbers and a flashy animation sucker people into making bad decisions. Save this PA for precasts or smart TAJAs. And don’t use it in group mobbing unless you’re 100% positive that your targets will survive.
 Stun Concido
Fast combo fodder that’s rarely worth the cost.
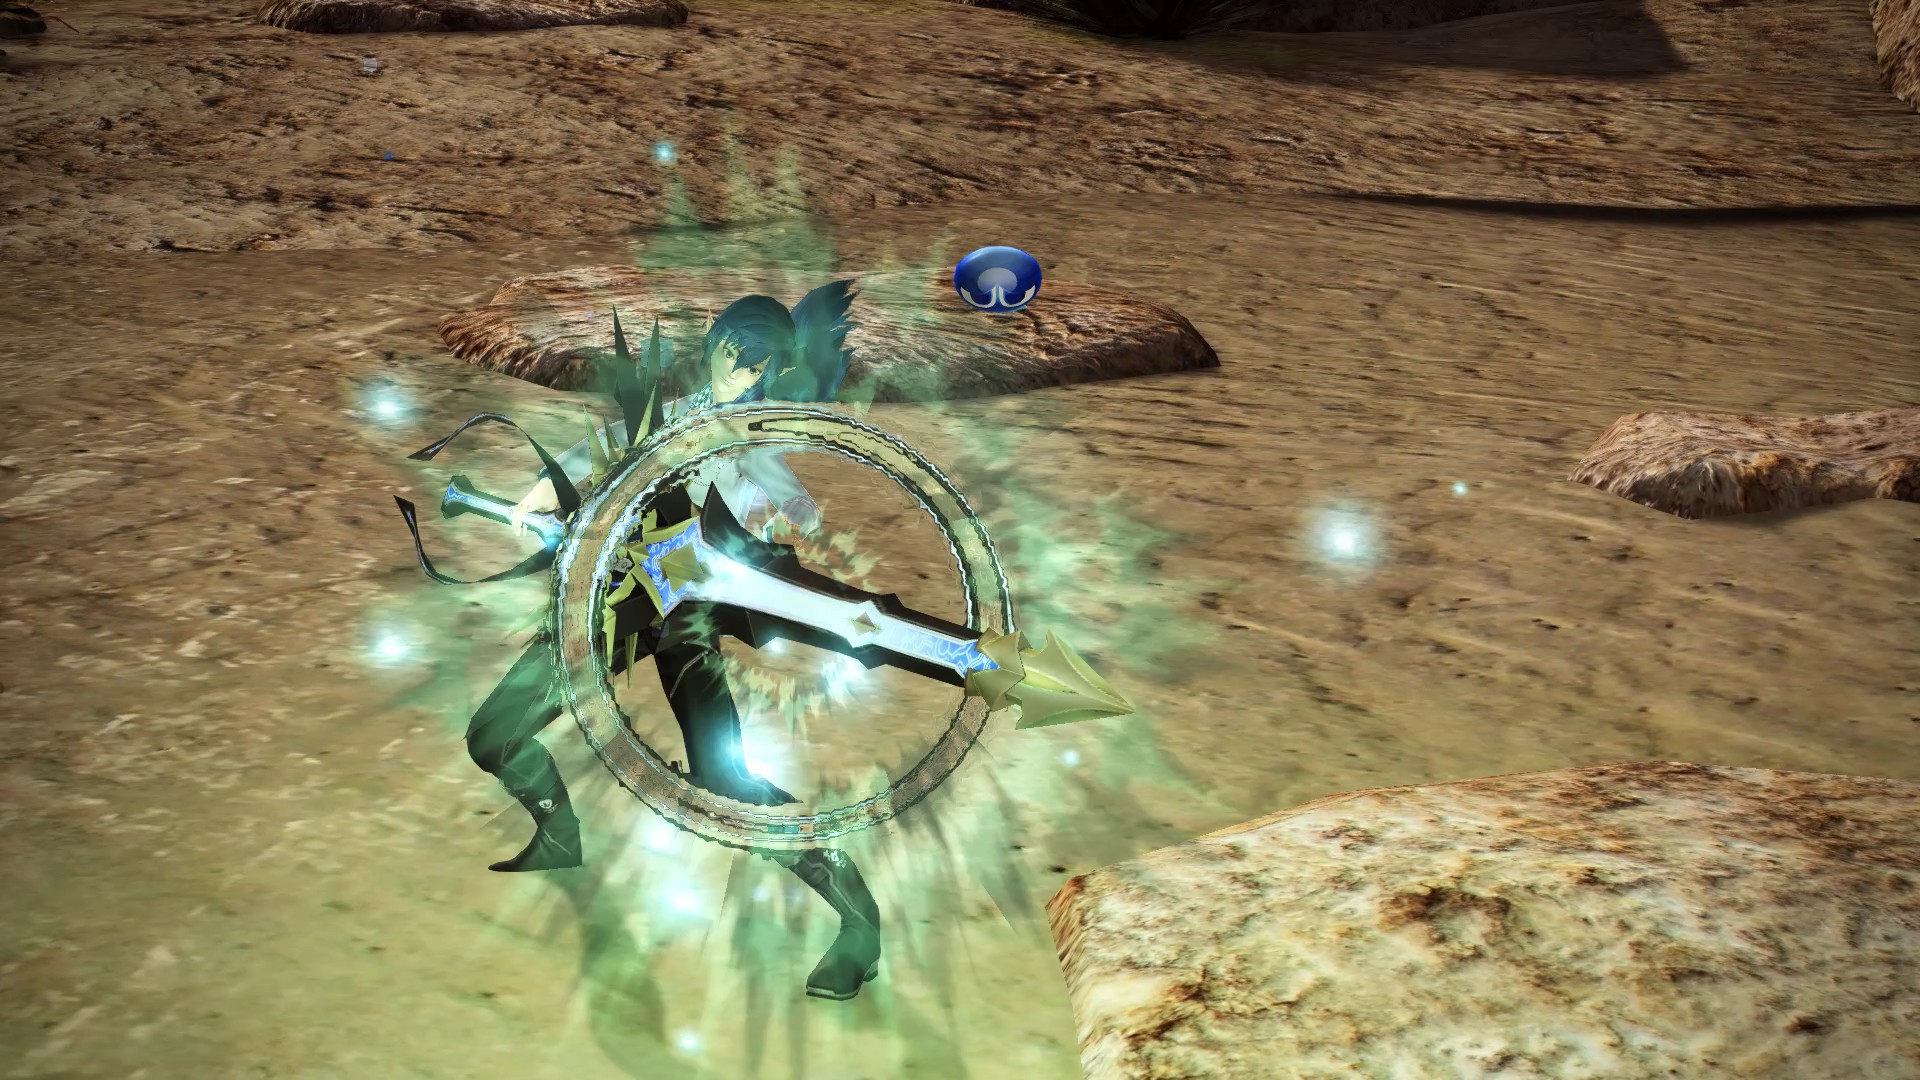
Stun Concido has anemic range and breathtakingly poor DPP. It rarely hits more than a single target, and while the damage is okay, using it as a regular TAJA burns 3 times the PP of standard single-target PAs.
You can technically activate Chase Advance with it, since it stuns on hit, but only the first hit will benefit from the damage bonus, and all of Sword’s good PAs hit multiple times.
Stun Concido has one saving grace: it’s Sword’s fastest way to get a JA circle. In absolute all-or-nothing burst situations, you can save a little setup time by using this, and if you want to open a fight with Ignition Parry, this is a more fluid way of doing it than normal attacking. Neither of these uses are really worth the 15PP cost except in really bizzare edge cases.
 Sonic Arrow
A fast TAJA, good for spread mobbing and gear generation, but drains PP fast.
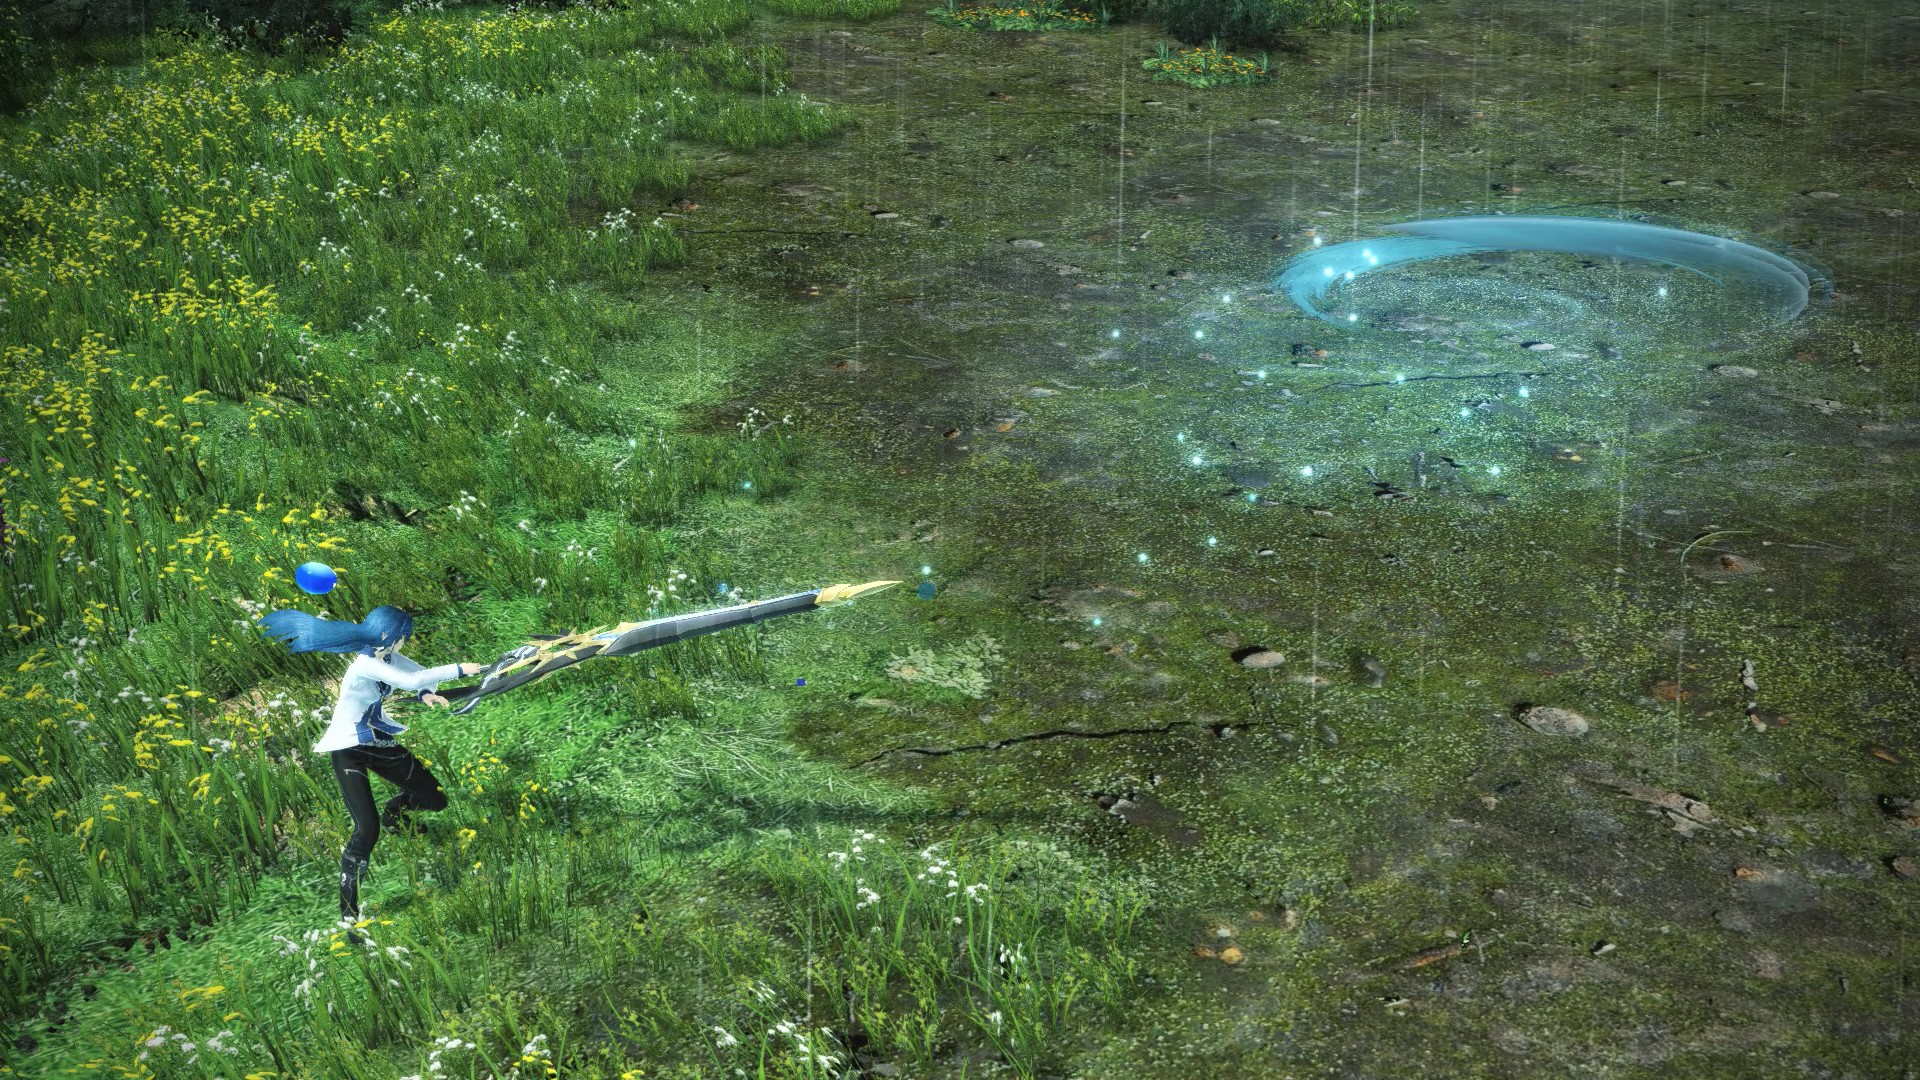
From an empty gear bar, with only 1 point in Hunter Gear Boost, Sacrifice Bite plus Sonic Arrow will take you just barely to level 3 gear on a single target. If the Sonic Arrow hits multiple targets, you’ll max gear instantly. This is your preferred opener in most situations, leaving you in a good position to follow up with the PA of your choice.
Sonic Arrow’s range is best described as “long enough”. If something is out of its range, the projectile is probably too slow to hit it in the first place. Use it as a mid-range tool. For enemies at long range, you’ll want to Guilty Break to close the gap instead.
Outside of openers, Sonic Arrow is best used in spread mobbing versus low-health targets. Moving to each enemy in turn is time-consuming, especially when they’re likely to die to random damage from your group. Sonic Arrow lets you stay where you are, letting you get to other mob packs or objectives pretty easily. It’s difficult to hit fast-moving enemies, especially at range, but your typical Tokyo and Vegas fodder will stand there and take it with no complaints.
Despite the utility, Sonic Arrow’s PP drain is pretty fierce. Anything that won’t die to a single Sonic Arrow (and some change) is probably worth attacking with more efficient mobbing PAs.
Aside: L / JG Sonic Arrow
JG Sonic Arrow turns every Just Guard into free damage, while still triggering guard skills like Just Guard PP Gain and Healing Guard. At maximum ring level, this version of Sonic Arrow deals more damage than the self-cast version, costs 0 PP, and still sets up a JA circle for TAJA.
JG Sonic Arrow is often harder to hit with than self-cast Sonic Arrow, since you can’t adjust your position and your target will usually be moving. You may need to lead with the projectile. Even if the PA doesn’t hit, it’s still +10 PP from Just Guard PP Gain, and a free TAJA setup so you can move back into position. Take advantage of this whenever you can—if JG Sonic Arrow doesn’t hit, your other PAs probably weren’t going to fully connect either.
If you have 12★ units available, this ring should usually be on them, especially if you’re struggling with PP upkeep.
 Cruel Throw
A waste of palette space.
No range, no AoE, mediocre damage, awkward animation, and it barely tickles unthrowable targets. The capture state also breaks lock-on, making this the only Sword PA that can actively reduce group damage. No matter what situation you’re in, there is always a better choice.
There is no justifiable reason to use this PA. Not even ironically.
 Guilty Break
Universal TAJA fodder, good for closing distance, finishing single targets, burst damage during boss stuns, and anything that’s not AoE mobbing. Be mindful of the tricky targeting and quick PP drain.
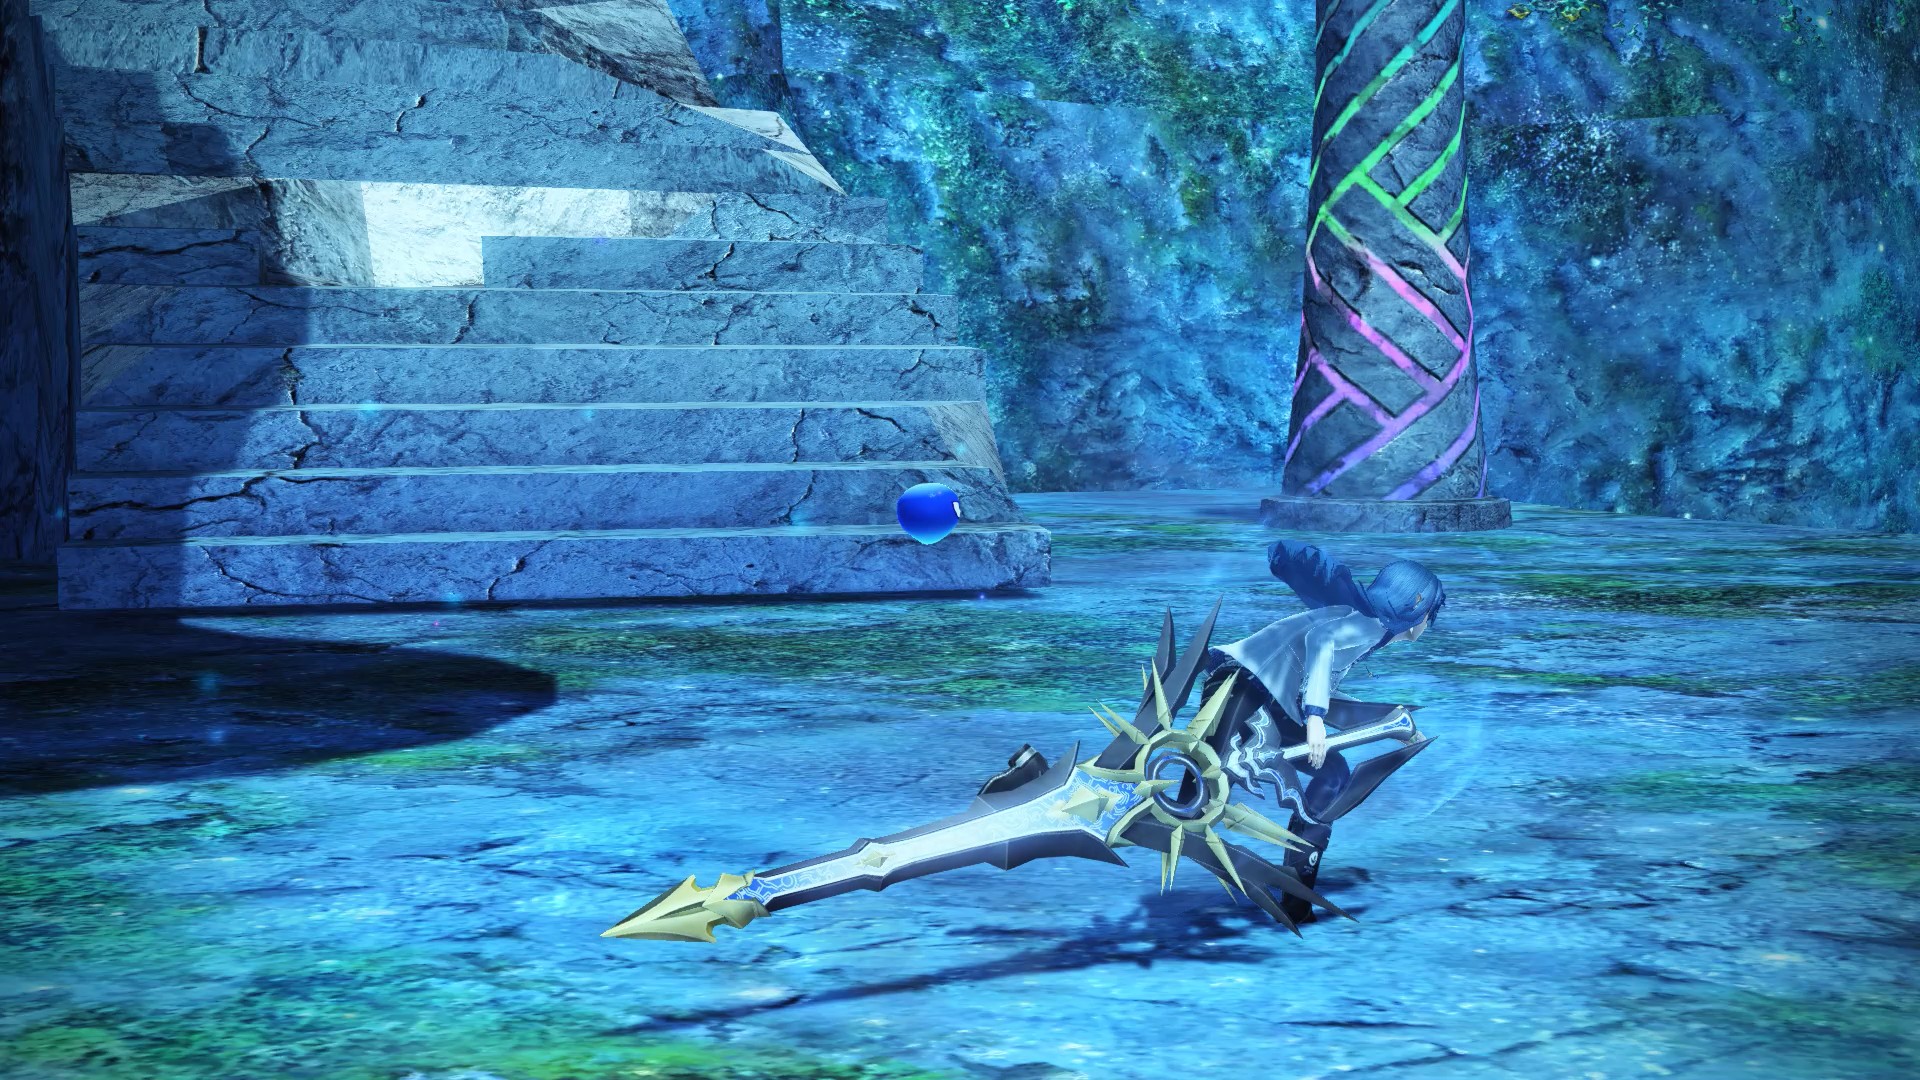
Guilty Break is a two-hit PA with a two-stage charge. Charging it increases damage and the maximum travel distance. Charge time is reduced heavily with each level of Sword Gear—at gear level 3, the charge is twice as fast as the next-fastest Sword PA.
When you need to move fast, and your destination isn’t within Step Attack distance, Guilty Break is usually the quickest option. It won’t break your JA chain, and naturally sets up for a TAJA when you arrive, but it also does some excellent damage on its own.
On default camera, Guilty Break will target whatever you’re softlocked onto, dashing to that spot and attacking when you get there. If you don’t have anything softlocked, it’ll dash straight, and you can control it somewhat with your movement keys. When using TPS camera, it will always dash straight, and you can’t control the path: if a valid target blocks your movement, you’ll attack when reaching it. In all cases, if Guilty Break reaches its maximum travel distance, it will attack regardless of what’s on-screen.
When moving long distances, the actual attack is usually a waste of time. You can buffer a step or a guard during the dash, which will take effect as soon as you stop moving: use this to skip the slow attack animation and get moving again, either with Step Jump or another Guilty Break.
When using Guilty Break for movement, be mindful of what’s near you. Since it dashes to whatever you have soft-targeted, moving out of mob packs can be a pain. Remember that you can soft-target box bombs and Skyscape’s Magnetic Needles as well: get in the habit of checking what you’re targeting before you swing. Use TPS mode if you want to move forward regardless of what’s on-screen.
Guilty Break will not follow targets that move: once you start dashing, you’re en route to wherever your target was when you released the PA. If you dash to enemies in the middle of forward-moving attacks, you’re liable to get stuck behind them or inside their bodies. This doesn’t happen often in mobbing, since you’ll automatically stop to attack targets in your movement path, but large bosses with weird collision boxes will troll you constantly with this. If a boss is pulling forward, wait to release Guilty Break until they’ve stopped.
Both hits of Guilty Break can be aimed separately, and they each have some decent forward disjoint, so don’t be shy about using it for mobbing (but be mindful of your PP). Versus beefy mobs, it can be useful as a finisher, or to get into position for strong Nova Strikes. In lower-HP mobbing, like Tokyo or Vegas fodder, it will kill some targets outright.
Guilty Break’s JA circle is fairly late, so if you use it too close to the ground, chaining another PA will be difficult. Give yourself a comfortable height to work with, or just use it on the ground.
 Sacrifice Bite Type-0
A long-term damage buff that turns your normal attacks into powerful cleaves. Plus a cool blue glow.
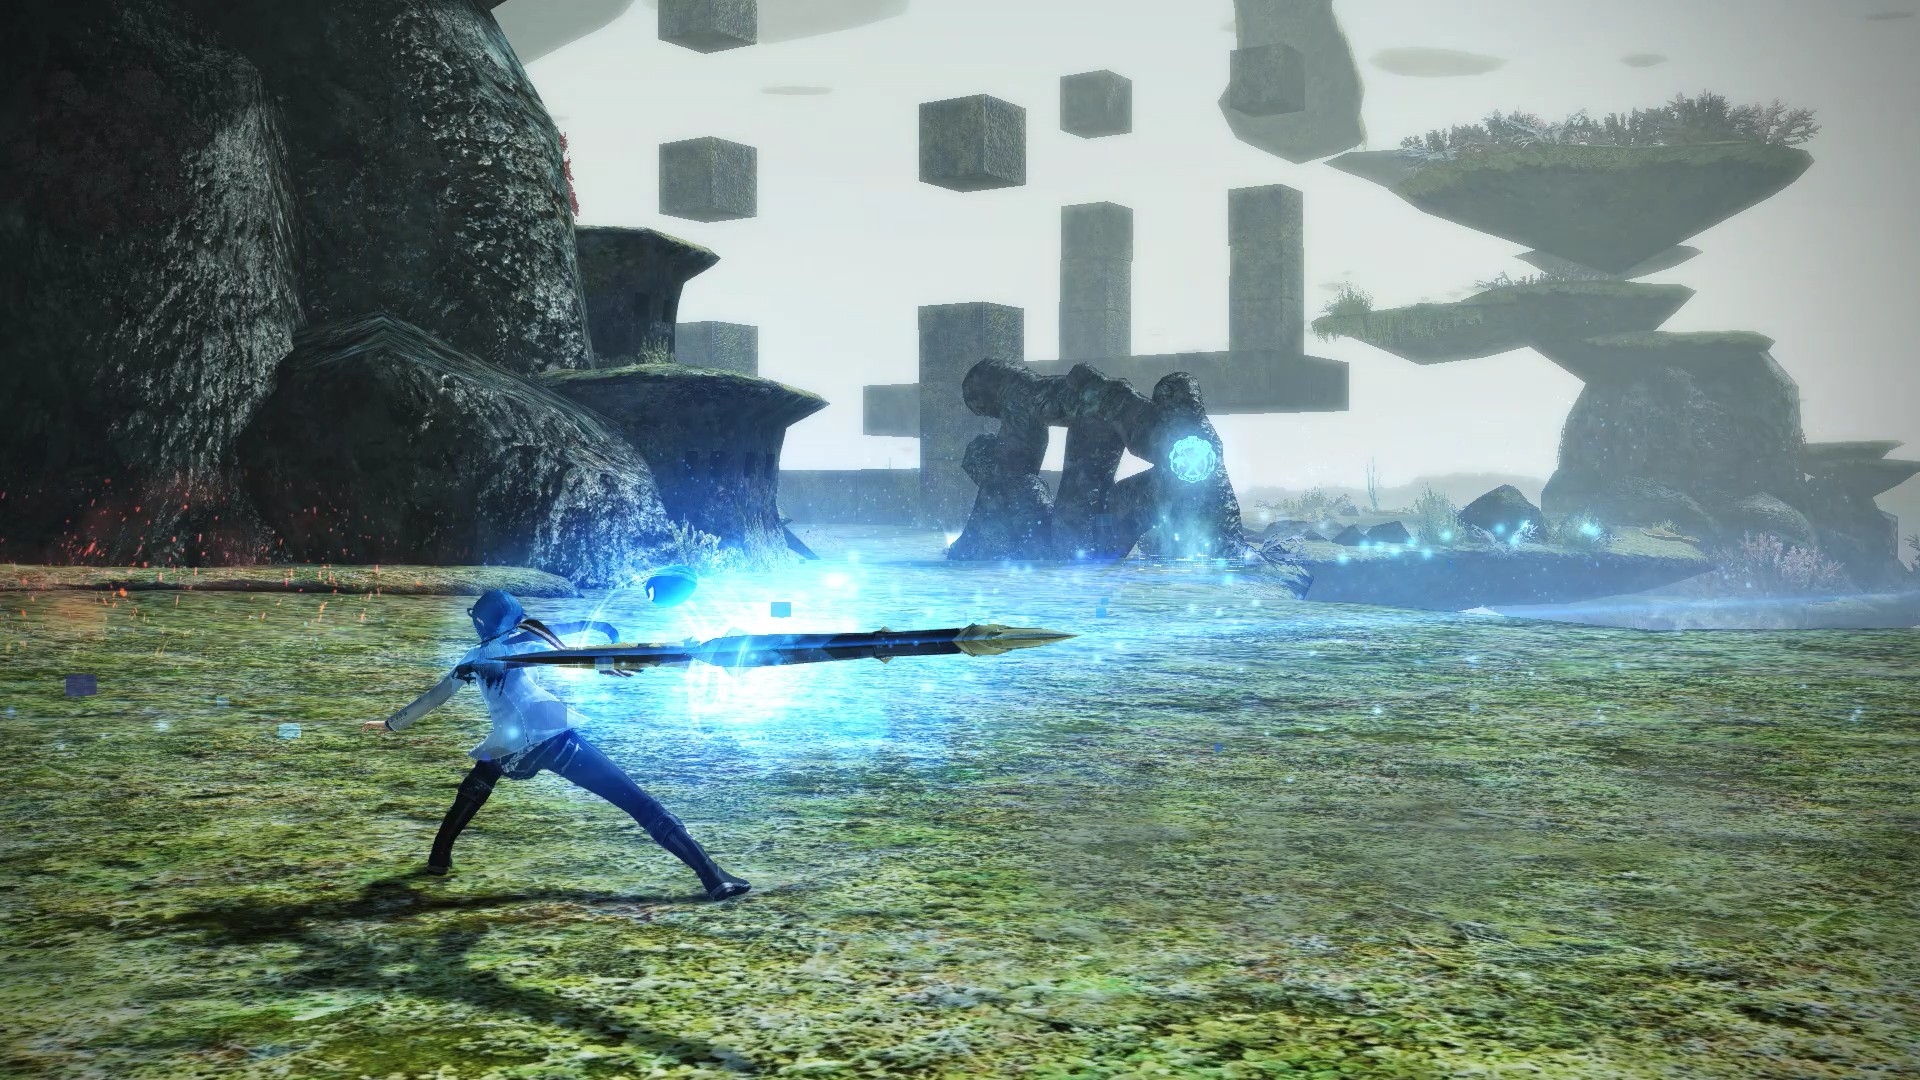
(Sacrifice Bite Type-0 is a straight upgrade from the uncrafted version. I’ll be calling it just “Sacrifice Bite” for brevity. When crafting, look for low PP costs above all, since the damage modifier only affects the initial hit.)
Sacrifice Bite attacks with a lunging stab, following up with a kick if it connects, knocking weak enemies down. The damage is bad, but it applies a buff to you on hit, lighting your weapon up blue to indicate success. While active, Sacrifice Bite’s buff grants a 1.2x multiplier to all striking damage. It also modifies your normal attacks, adding a blue beam of light that hugely boosts damage and range, and changes your Step Attack to a frontal slash that behaves in the same way.
Keep Sacrifice Bite’s buff up whenever possible. It disappears 3 minutes after applying it, but will also disappear if you switch to a different weapon. Reapplying the buff before it falls off resets the duration, but does not stack it. Since rebuffing early is a damage loss, be mindful of when you switch weapons, especially if using an Orbit-series weapon for PP recovery.
Sacrifice Bite’s buff will apply even if you hit an invincible enemy, like the laser turrets in Ultimate Amduscia, or Mother’s body during an arms phase. When no targets are available, look for these opportunities to apply or refresh the buff.
Empowered normal attacks have roughly half the DPS of PAs, and their reach allows them to hit multiple targets for fast PP recovery. Always look for chances to finish weakened enemies with normal attacks, especially if they’re likely to die before you finish a PA. Similarly, during boss stuns, be aware of timing and group damage to avoid wasting PP on PAs. (Ask your Gunners to call out their chains if you can.)
Because normal attacks have no armor, and their startup is fairly long, you’ll sometimes want to use Massive Hunter to make sure you’re not interrupted. The final swing in your combo does the most damage, so weaving it into a PA rotation can squeeze out a little more damage, but always consider timing and positioning first.
 Ignition Parry
Theoretical best-in-class DPS and DPP, but short range and the parry requirement make it somewhat situational. Optimized bossing starts here!
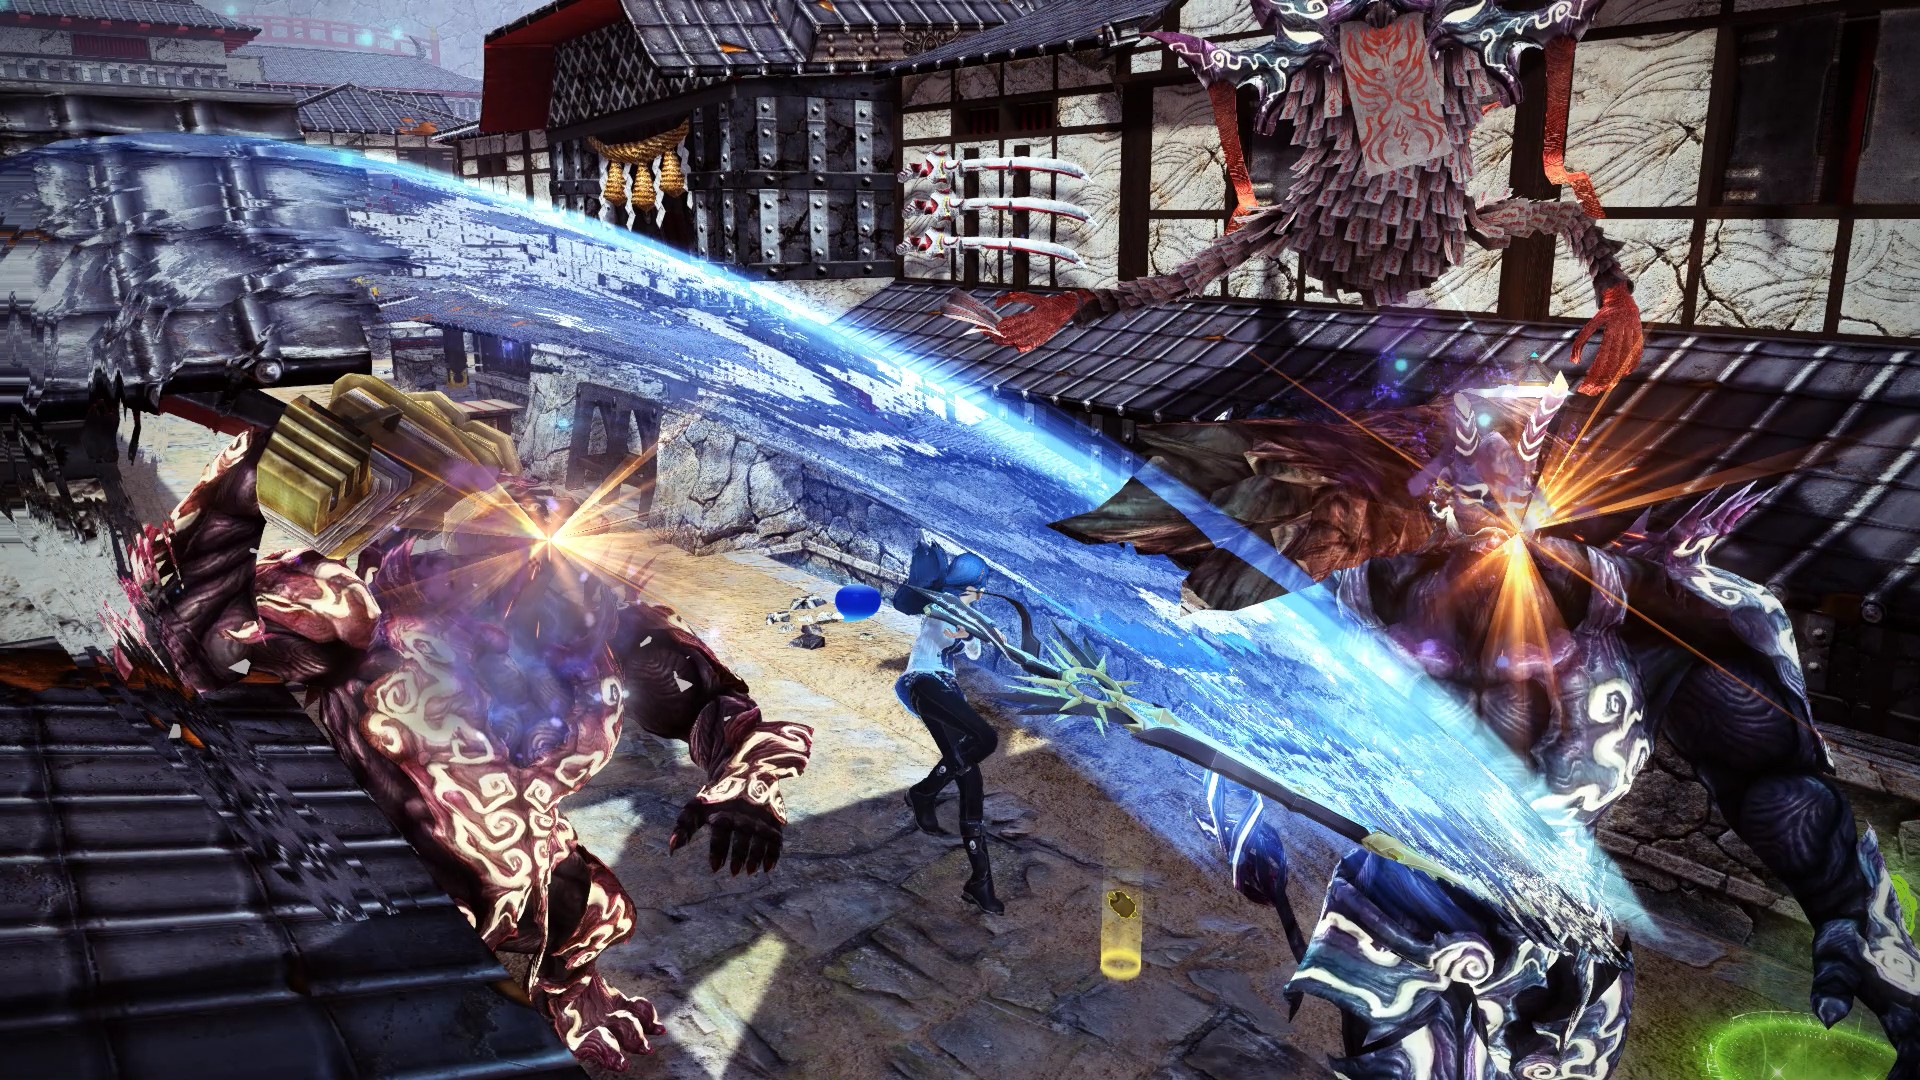
Ignition Parry is a 4-hit series of short-range slashes, followed by a 2-hit finisher. It’s unarmored and fairly slow, but at any time before the finisher, you can tap Weapon Action to parry an incoming attack. The timing is stricter than standard Just Guards, but a successful parry makes the rest of the PA fully invincible, increases the swing speed, and massively boosts the damage of the finisher.
Parry activation has the same restrictions as Just Guard does. Unguardable sources of damage can’t be parried, but all standard attacks can be. This makes it a great option versus close-range attacks that you can’t safely armor through—usually stuns or heavy single hits. You can also use the invincibility after a parry activation to avoid other unguardable damage, though the chance doesn’t come up often.
The grounded version of Ignition Parry moves forward with each slash, which can make positioning awkward. You’ll usually want to opt for the air version. Both versions of the PA have the same overall damage and frame data.
The majority of Ignition Parry’s damage comes from the empowered finisher. You can safely whiff the rest of the PA without losing much damage. Once the fourth slash ends, your parry window is over, and any Weapon Action inputs will give you a normal guard instead, so it’s usually better to swing late instead of early.
You get three chances to parry per use, but there’s a short cooldown between each one. Don’t freak out and mash if you misread an attack, though: multiple activation attempts erase the JA circle at the end of the PA, forcing you to break combo. If you’re unsure of yourself, you can use Massive Hunter versus parry-heavy bosses, protecting you if you attempt to parry late.
When using Ignition Parry in group bossing, it’s even more important to make sure that you stay in front of your target. In superbosses, fight awareness and practice make this simple, but for bosses with aggro tables, you have to pay attention to threat. While you have it, you can usually get away with aggressive parries, and the extra damage will help you maintain it. When you don’t have aggro, it’s more difficult to set up for parries, since you have to constantly reposition in front of moving bosses. War Cry can help you regain control in situations like these, but sometimes a Gunner just rips your aggro away and there’s nothing you can do about it. Be ready for this to happen.
Just Attacking with Ignition Parry can be awkward. To set up good timing, you’ll usually be padding with normal attacks, since they’re a relatively fast, low-commitment option that generates a JA circle. Get used to making small adjustments with early or late JAs, too. You don’t always have to swing at the earliest possible moment.
If you don’t have time for a normal swing and really need a parry, Stun Concido is the fastest way to get a JA circle, at the cost of 15 PP. If you want to make use of this, keep it on the same palette as Ignition Parry—palette swap delay is too long to switch palettes twice.
Mobbing with Ignition Parry is usually a bad idea. The finisher’s range is longer than the rest of the PA, so it can hit multiple targets with good positioning, but enemy movement rarely cooperates. Large AoE PAs are a more reliable choice unless you really need to conserve mates. In groups, don’t even bother trying—unpredictable staggering and aggro makes it almost impossible to land a solid parry.
Final Notes
Most of this guide is written from the perspective of mid to high-level organized play—solo play is a different beast, as you won’t be taking deliberate damage very often. A lot of the advice here is universal, but the way you apply it will be different depending on the pace of your runs and the way your group flows. Adapt according to what feels comfortable, and your performance will usually improve.
The raw statistics I reference in this guide are taken from the SWiki page on Sword PAs. If you want a concrete priority list for maximum DPS and DPP, the timing data and numbers on this page will help you construct one. For best results, have a buddy who knows Japanese along, as some of the listed data makes unusual or unlikely assumptions (Twister Fall Type-0 at +0% craft????). SWiki also includes changelogs for each PA, so if this guide is wildly out of date now, give it a pass to make sure no PAs have been changed. Also, hello from the distant past, please save us from Maron.
The way I approach Sword is always changing: if you have any suggestions or changes to make to this guide, hit me up on Discord at TyroneSama#3292. We’ll talk. Maybe one of us will learn something.
Finally, shameless plug for my team, WaifuDfnseForce. We focus on optimized play in a relaxed and low-stress environment, with no class restrictions. If you can participate in XH content and you can one-cycle Bal Rodos, you’re welcome to ping me on Discord and apply.
Thanks for slogging through this gigantic text wall, or if you skipped to the end for a TL;DR, go fuck yourself. Good luck!